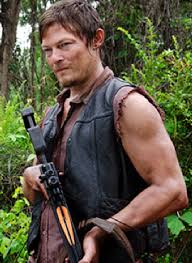
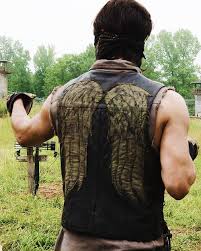
In my last post I showed you how I DIY’d my leather vest to look like Daryl Dixon’s from The Walking Dead. Click HERE to view that.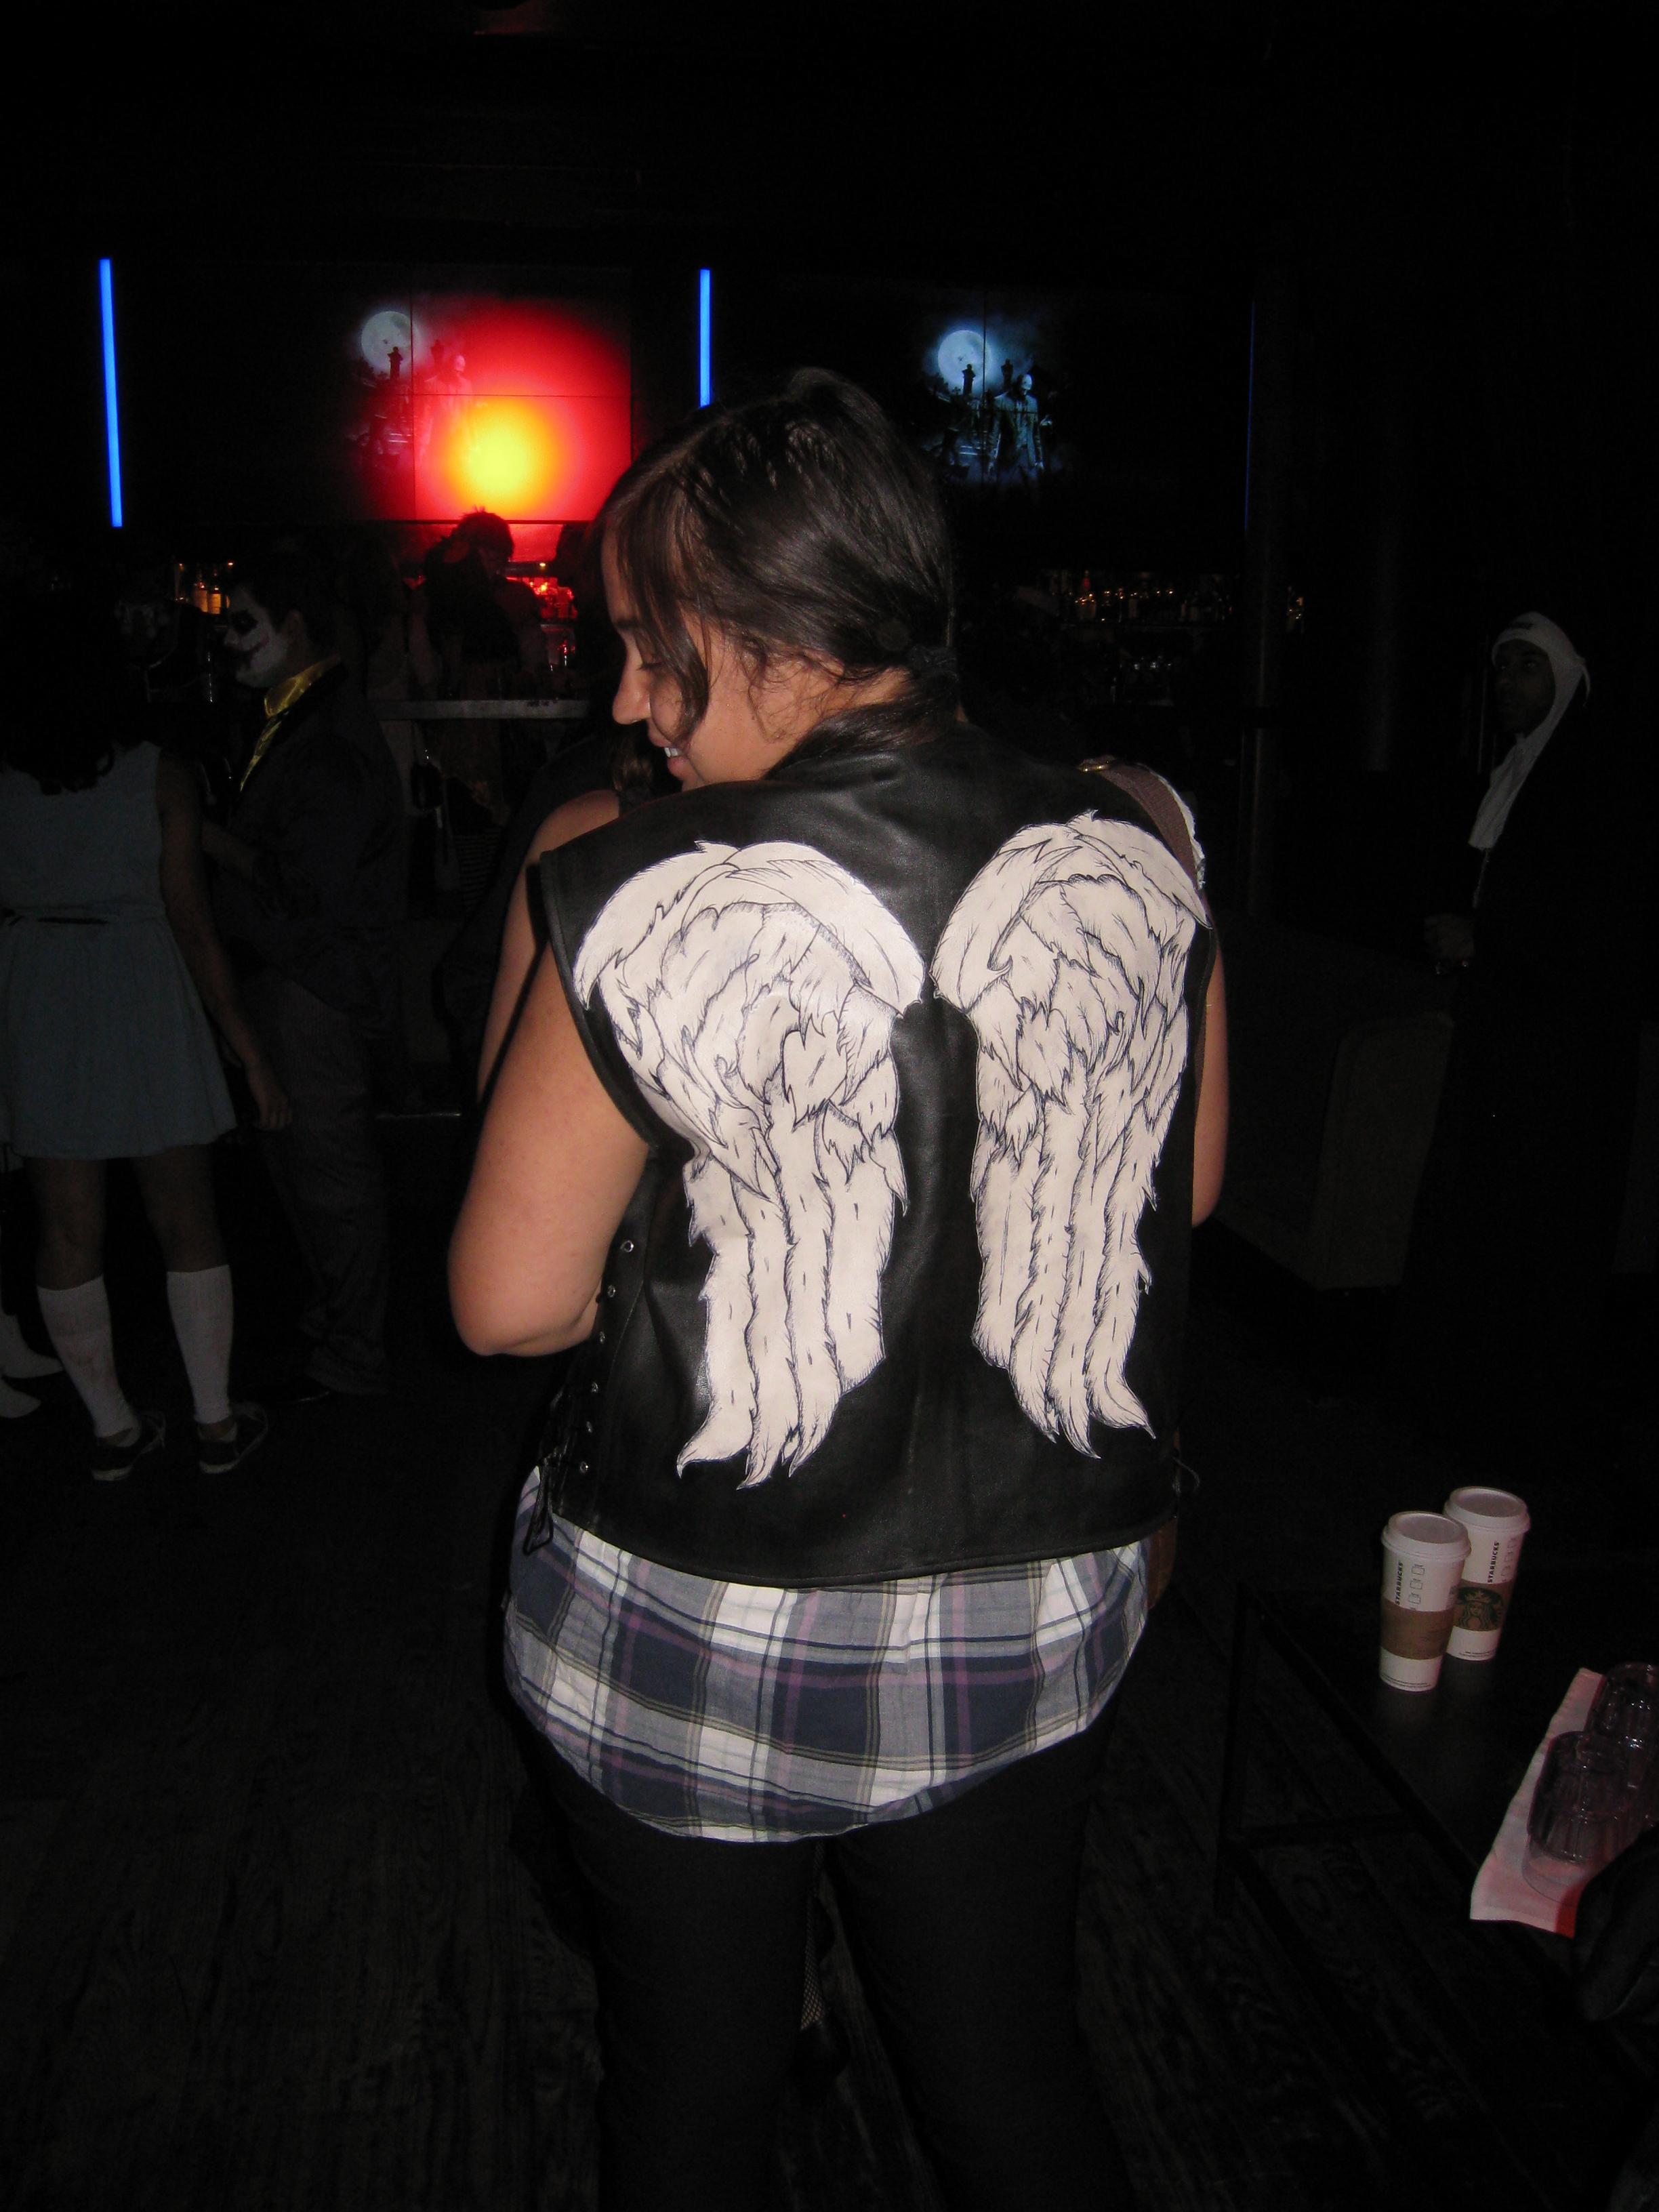
But now I’m going to show you how I pulled the whole look together to become MRS. Daryl Dixon.
![maxresdefault[2]](https://michelleleighwrites.com/wp-content/uploads/2014/11/maxresdefault2.jpg)
Create a bloody/dirty/worn out shirt…
to make it look like you’ve been slaying zombies left and right.
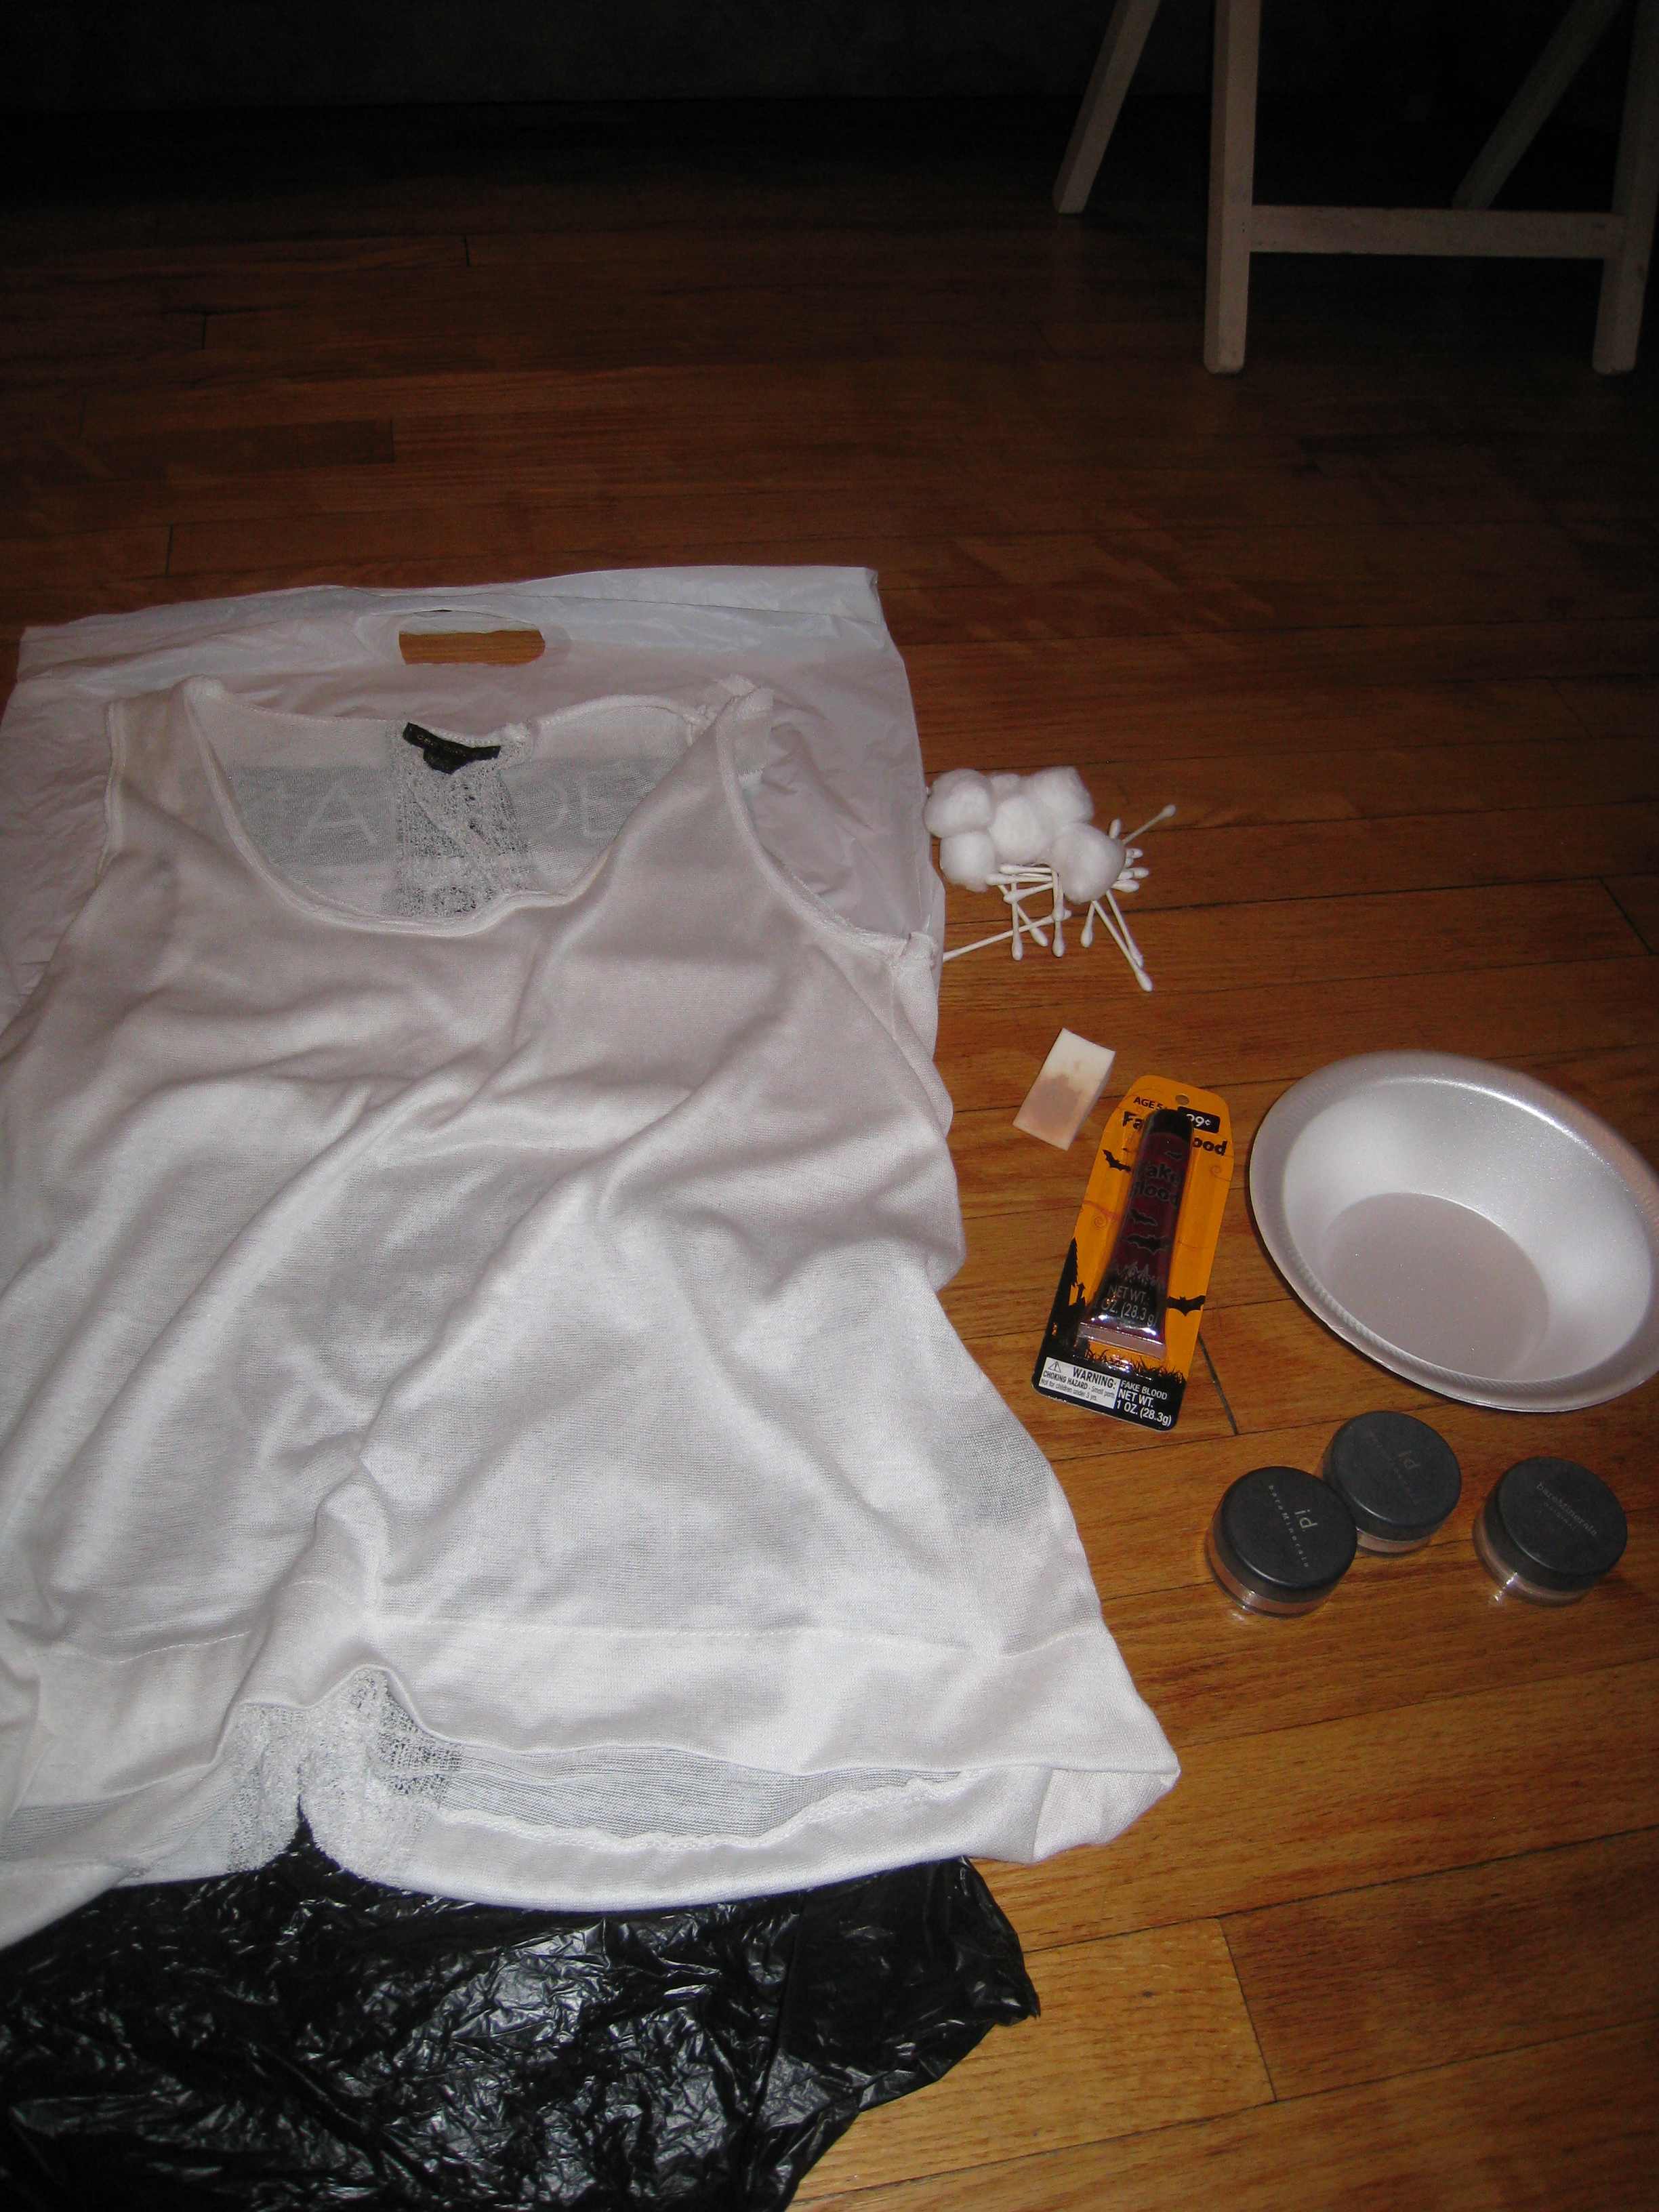
What you will need…A light colored shirt, paper bags, fake blood, cotton balls, a bowl, some bronzer, red food coloring, and a paintbrush.
First lay your plastic bags down before working.
Spread out your shirt.
Pour some of the bronzer powder into a bowl (I used bare minerals warmth).
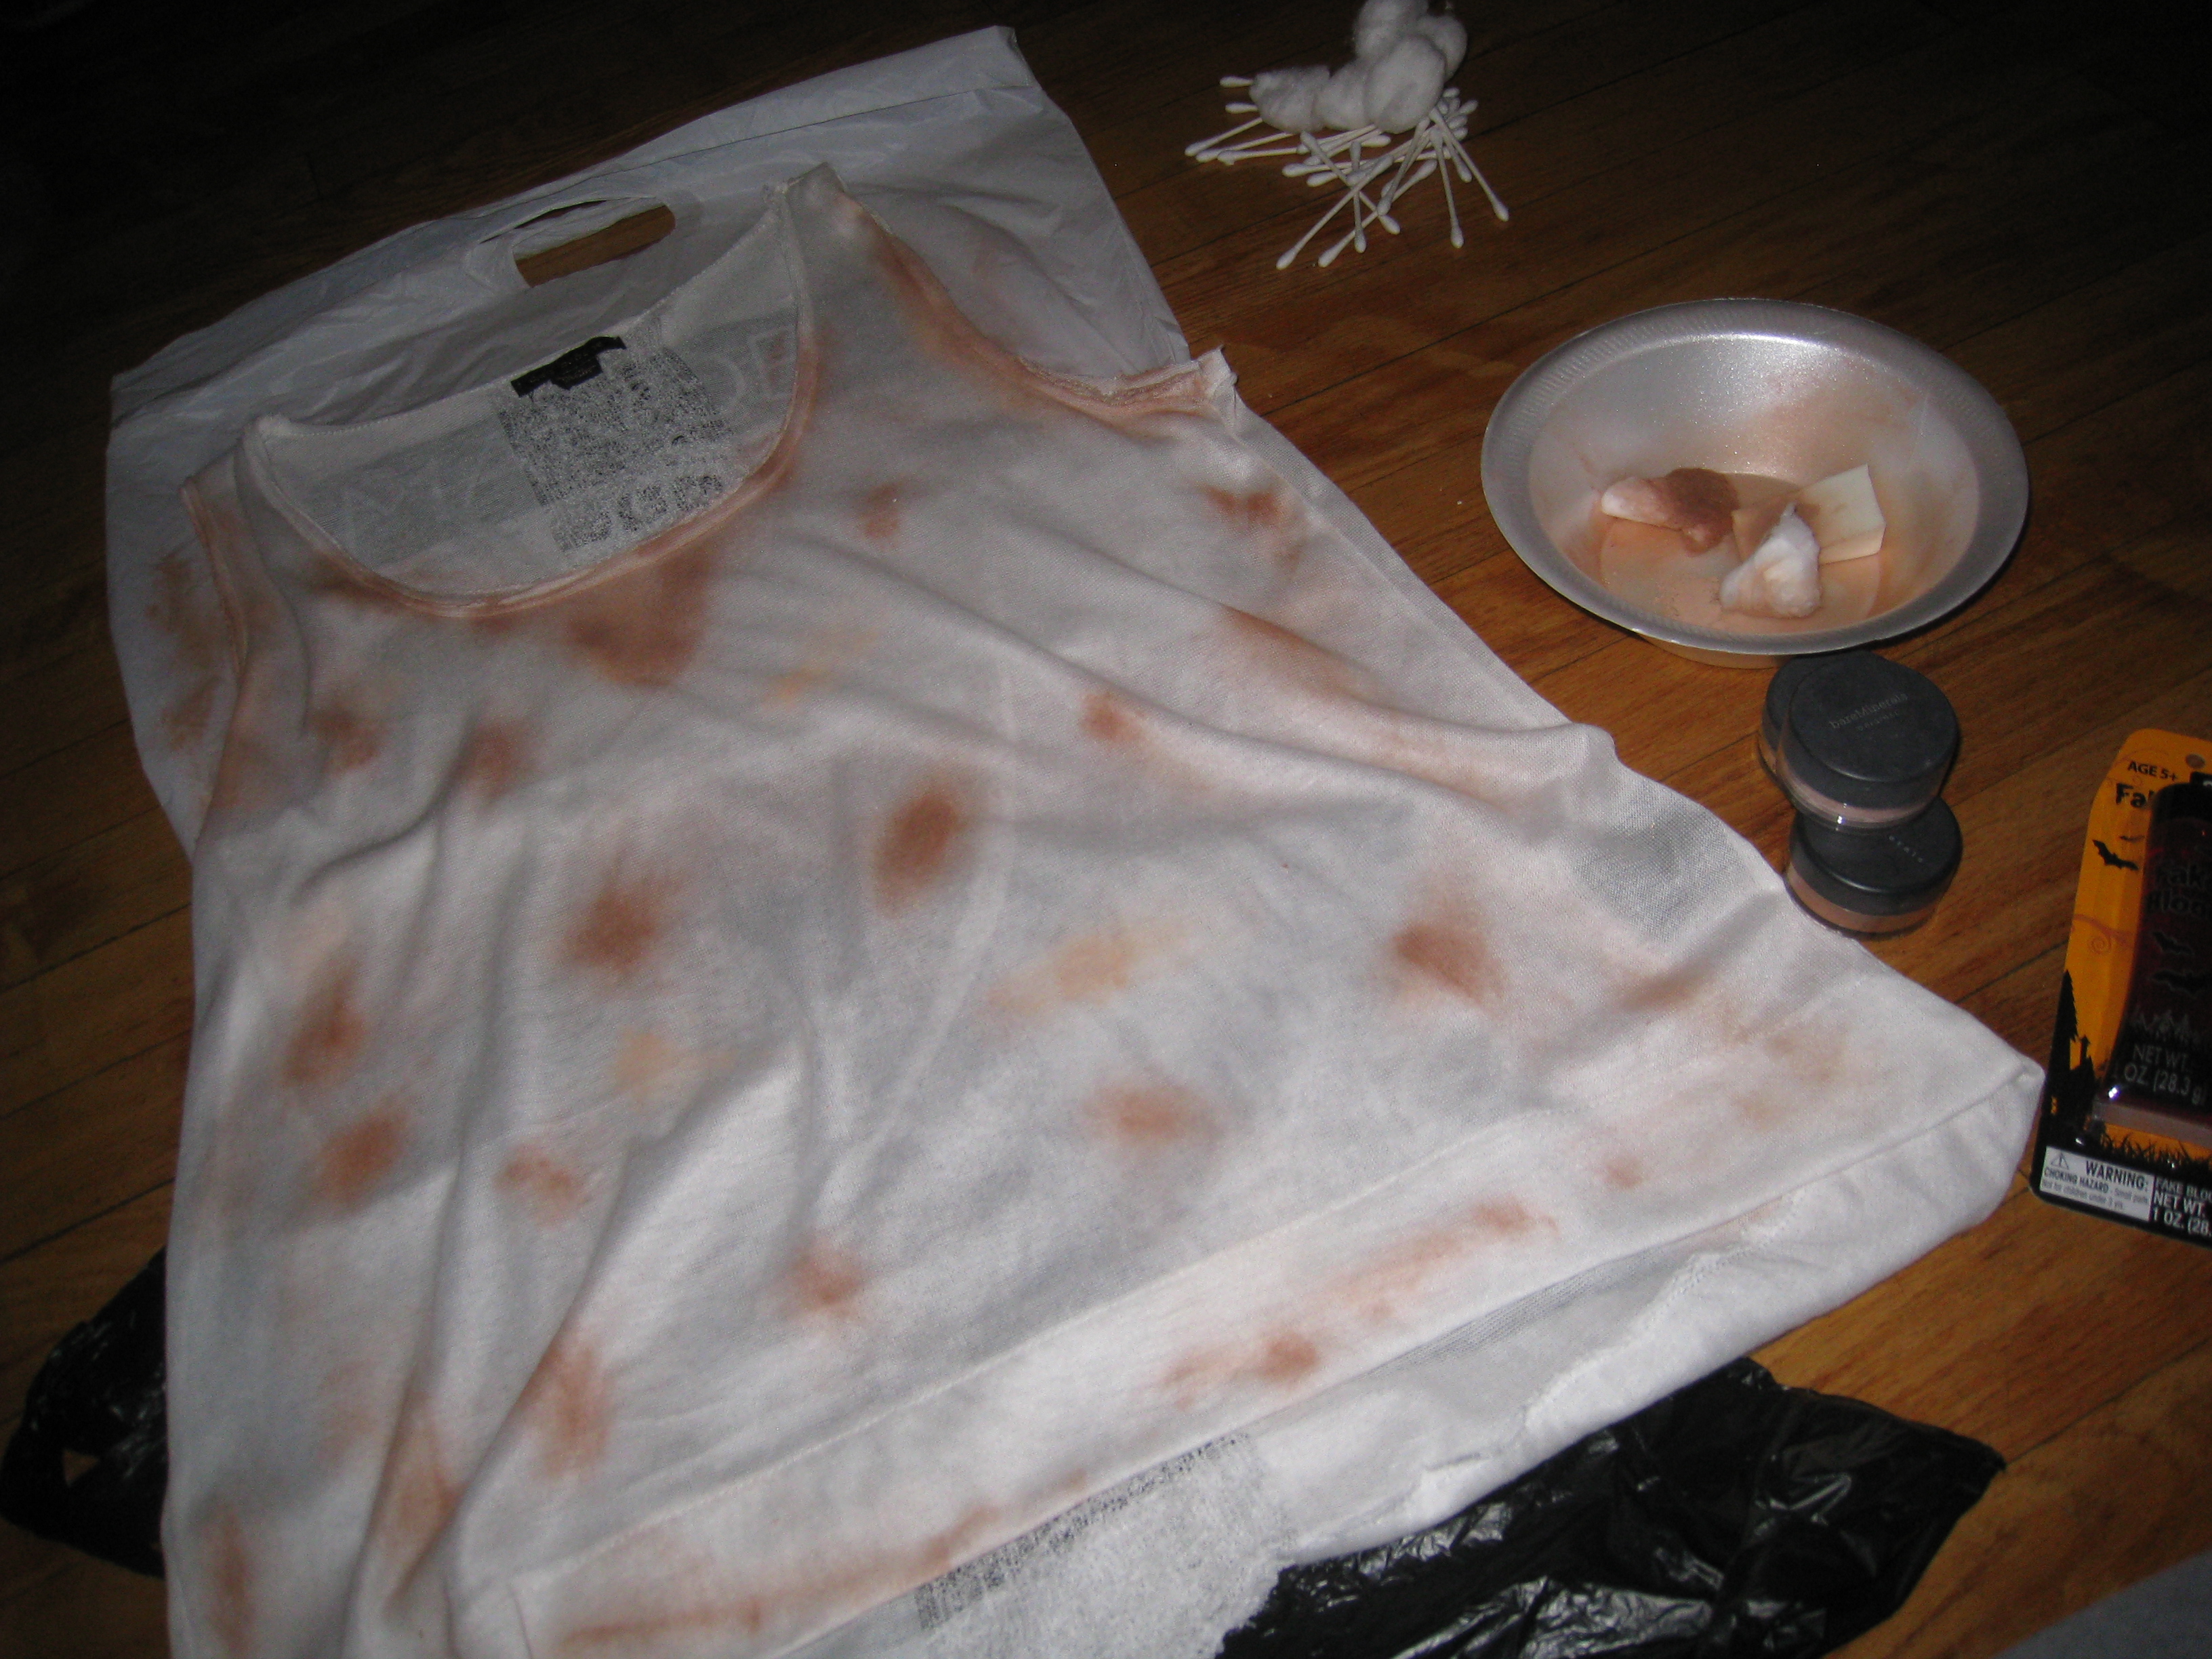
Take your cotton ball and dip it into the bronzer and sparingly make your “dirt” marks all over your shirt.
My shirt was very sheer and actually had a shredded back to it so it looked really warn as is, and because it was sheer the markings went through to the back as well, which saved me some time.
Focus on the armpit areas and the neck to convey a worn sweaty/dirty affect. You’ve been traveling through a zombie apocalypse. This is not the time to be a fashionista.

Next… bloody it up.
I didn’t go too crazy. I’m not the zombie…


#BeenThereDoneThat
I’m the slayer.
So I was going for a more splattered blood #IJustKilledAFewWalkers look.
The fake blood I bought was a bit too thick to create a splattered affect so I used red food color and dipped a paint brush into it and shook it onto the shirt sparingly.
The more noticeable blood drips were achieved with the fake blood, and a paintbrush.
My brother took care of that part.
So once you get the right bloody/dirty look you hang the shirt up to dry over night. The thinner your shirt the quicker the dry time.
Now that you’ve made both your angel wings vest and your bloody shirt…you can pull from your own wardrobe for the rest of this look.
Including:
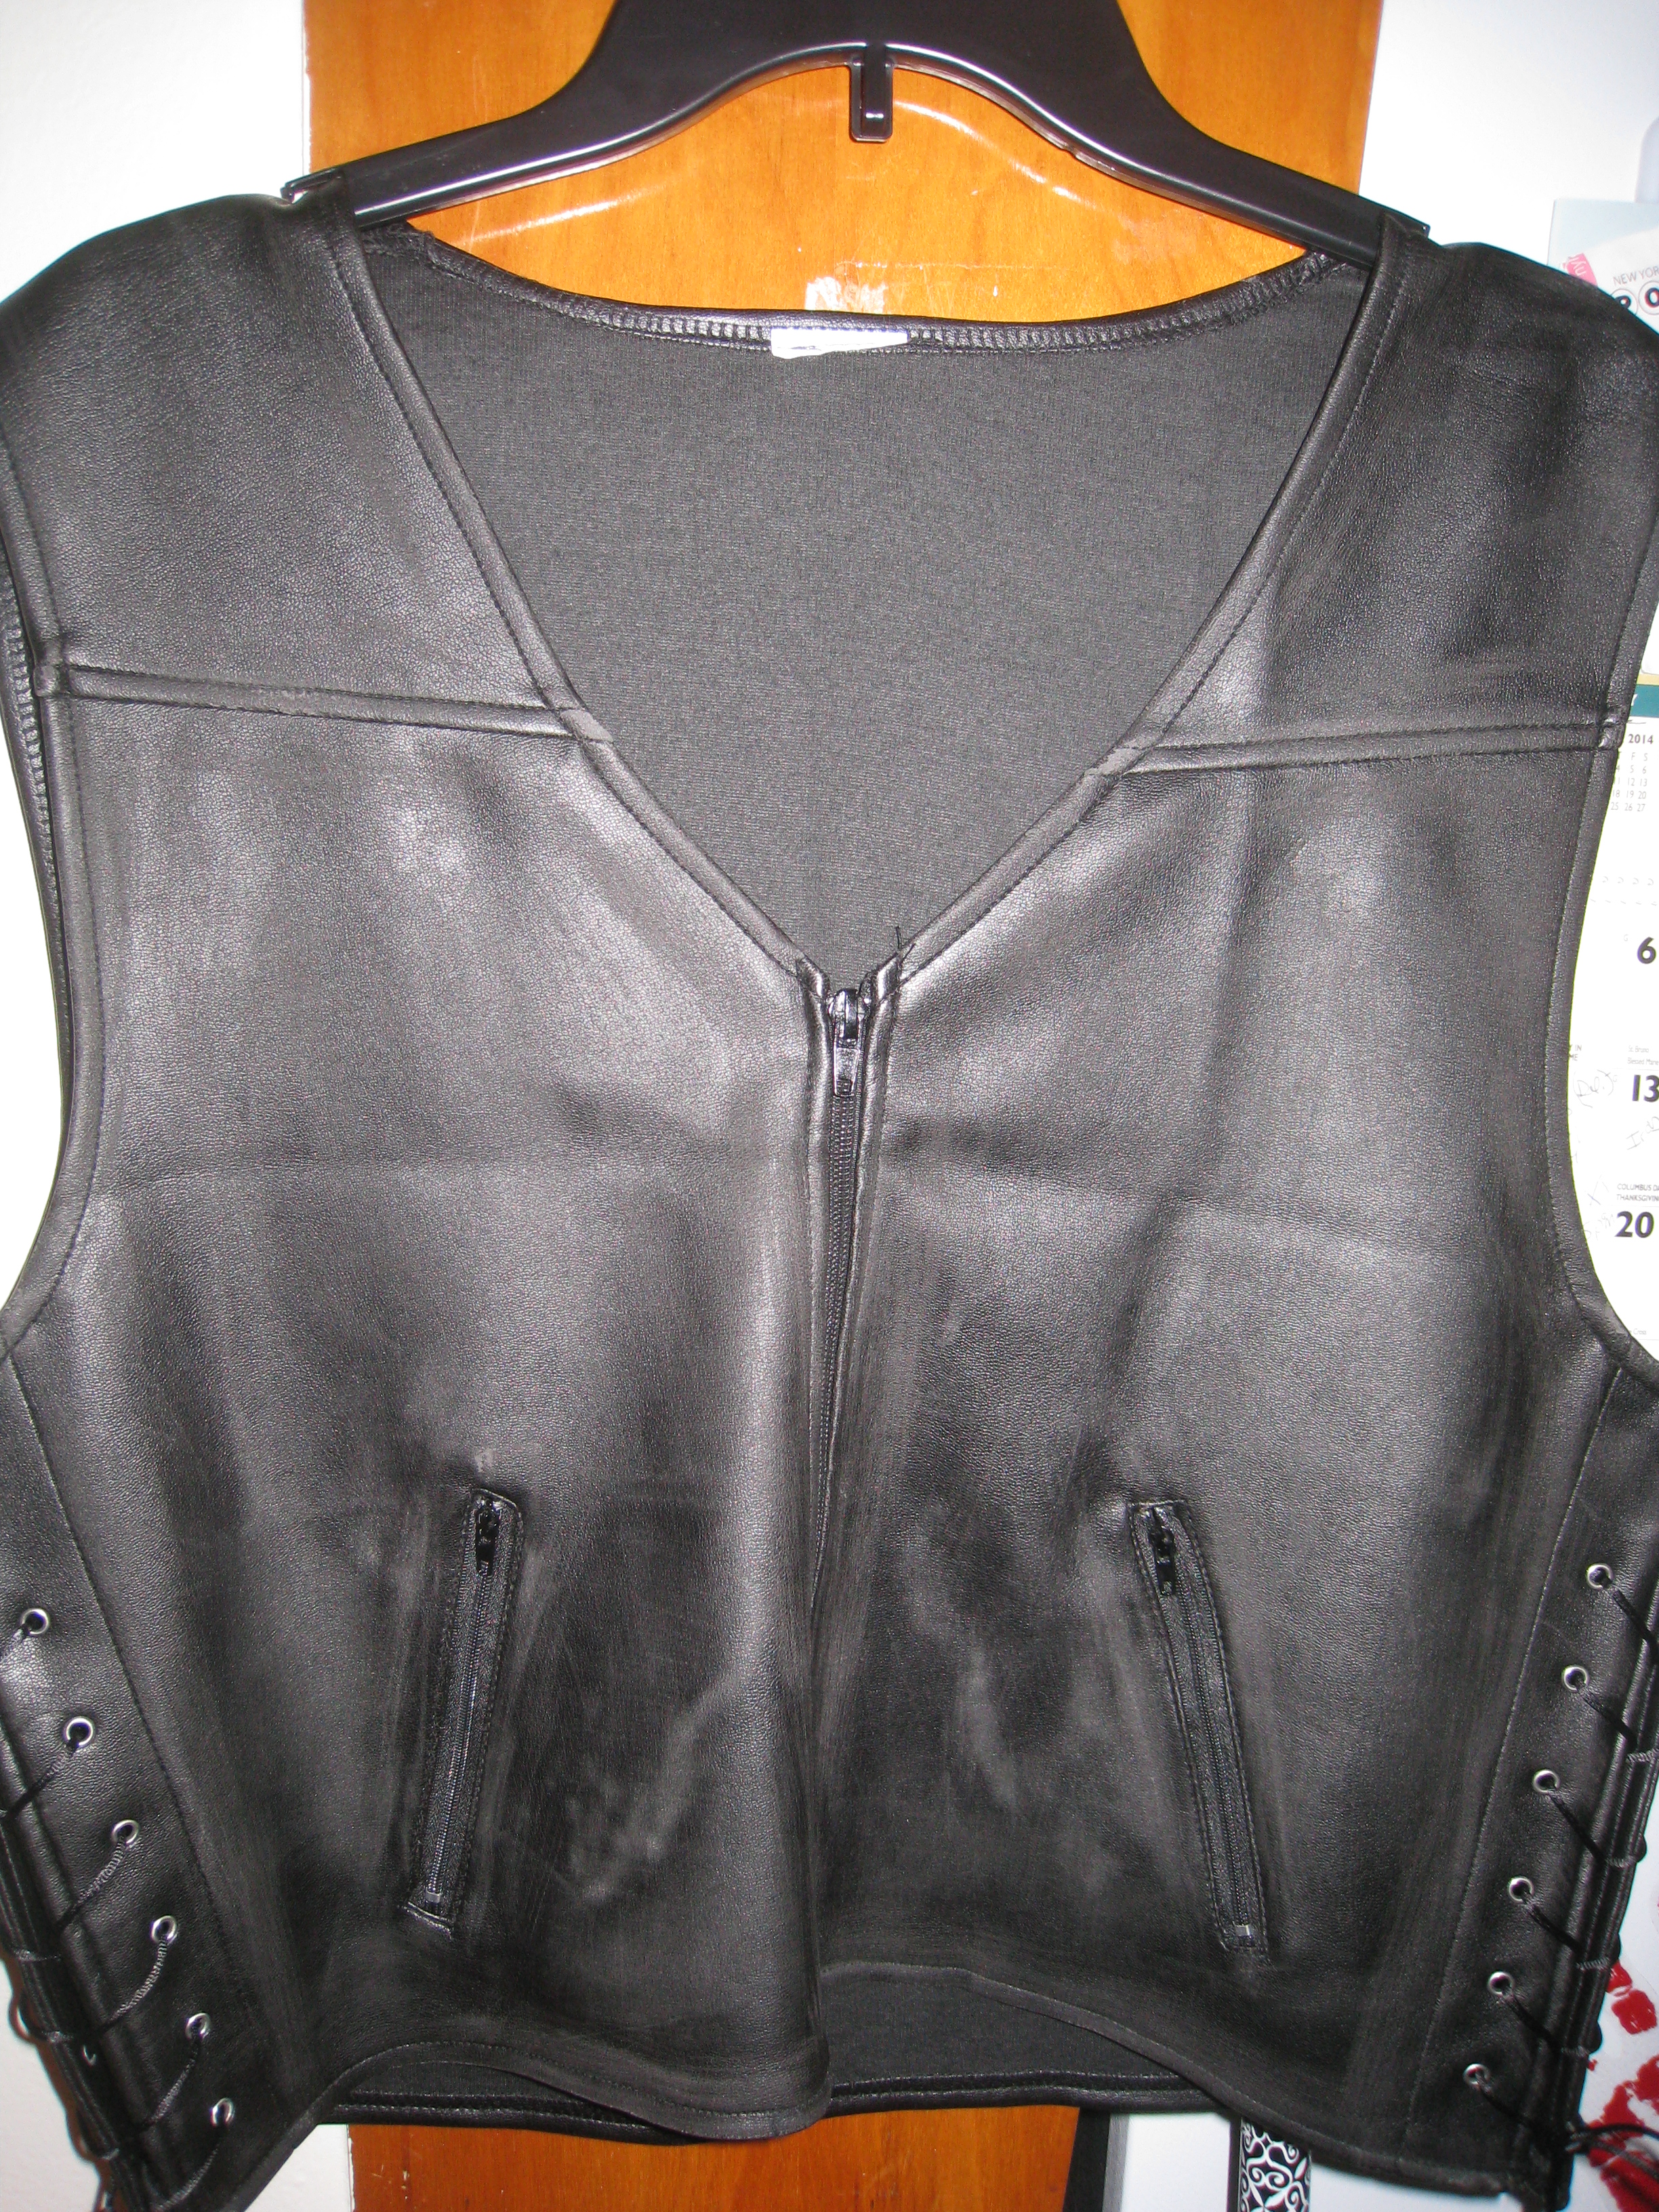
Vest
Leather Jacket
Sleeveless plaid button down
Bloody Shirt
Black jeggings
Black combat boots
The Full Look:


(A closer look at ) The Make Up & Hair:

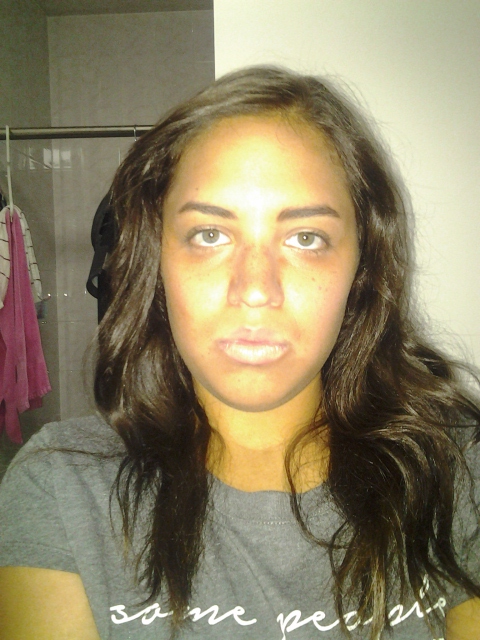
I went for a really natural (grungy) look.
[Because let’s be real ain’t nobody got time for smokey eyes and bold red lips in the apocalypse.]
I did a basic face
bb cream
under eye concealer
curled lashes
very small amount of mascara
pinkish blush (flushed cheeks…run girl run save your ammo)
Fill in the eyebrows (no time for tweezing either haha)
Using bronzer to deepen all your features…basically highlight every crease in your face, cheek bones, nose, under eyes, etc. Basically darkening your features to make yourself look like you’ve been on the go weathering the struggle just trying to survive. Imperfections are okay.
For the lips I used a combination of a concealer stick and some darker burgundy lipstick, to create a flushed look.
For my hair (worked best on second day hair)
[ain’t nobody got time to wash their hair luxuriously when your tryna stay alive]
First I curled lightly with a straightener/curler
Then I went over with a curling iron
Hairspray in between as usual
Adding products as you see fit
Then once you get a wavy curl flip your head over shake it out
Comb out to loosen and give a more messy natural wave.
I ended up tying it into a side pony tail and leaving some pieces out

I look pissed…haha #stayingincharacter
Accessories:
Handkerchief (I tied it to my belt hoop)
Some leather rope bracelets
A silver chain with a saint on it (because you still need to keep your faith in the zombie apocalypse)
fake tattoos (Daryl has a few)
I did start the night with a pair of lace “biker” gloves but eventually those came off, (Daryl wears leather ones sometimes and I had the lace pair so I made it work)

I chose to put this one on my fore arm…
![Daryl-dixon-tattoos-300x225[1]](https://michelleleighwrites.com/wp-content/uploads/2014/11/daryl-dixon-tattoos-300x2251.jpg)
Daryl’s tattoo
And if you really wanna commit to the role of Mrs. Daryl Dixon…throw in some fake bling 😉

Hey if Maggie got a ring…Daryl’s girl can have one too…didn’t cost a thing 😉 P.S. I didn’t actually wear these out! haha
I stuck to clear nail polish because I wanted to stay as close to character as possible.
And can’t forget… a weapon of choice #fakeofcourse
I went with a fake bloody knife

Oh well I guess she was bitten…
So there you have it…how to transform into Daryl Dixon’s wife.
It was fun playing the part, after all that’s what Halloween is about right….immersing yourself into a new character for a night and owning it.
AMC give me a call…Daryl deserves some love too!
Who’s ready for tonight’s episode…we finally get to see what happened to Beth!
Happy Watching!
-<3-
So now that I’ve been a zombie and a zombie killer…who’s next…maybe I’ll take on Michonne next year… What do you think?