It’s no secret that I’m a Walking Dead fan, and it’s even less of a secret that I love Daryl Dixon. So 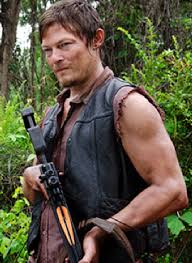 when Halloween costumes began rolling around in my brain I was considering being either Michonne or Daryl. However I didn’t like the quality of the Michonne wig they were selling and I knew I wouldn’t keep it on the whole night so I opted for Daryl. But Michelle you’re a girl….yes I’m well aware of that. But it’s Halloween and I can do and be what or whomever I want. You make your own rules. So I am [Female] Daryl Dixon….or Mrs. Daryl Dixon if you will. I even have the vest to prove. I’ll show you how I transformed into character…come along!
Phase 1: Materials & Creating the Wings
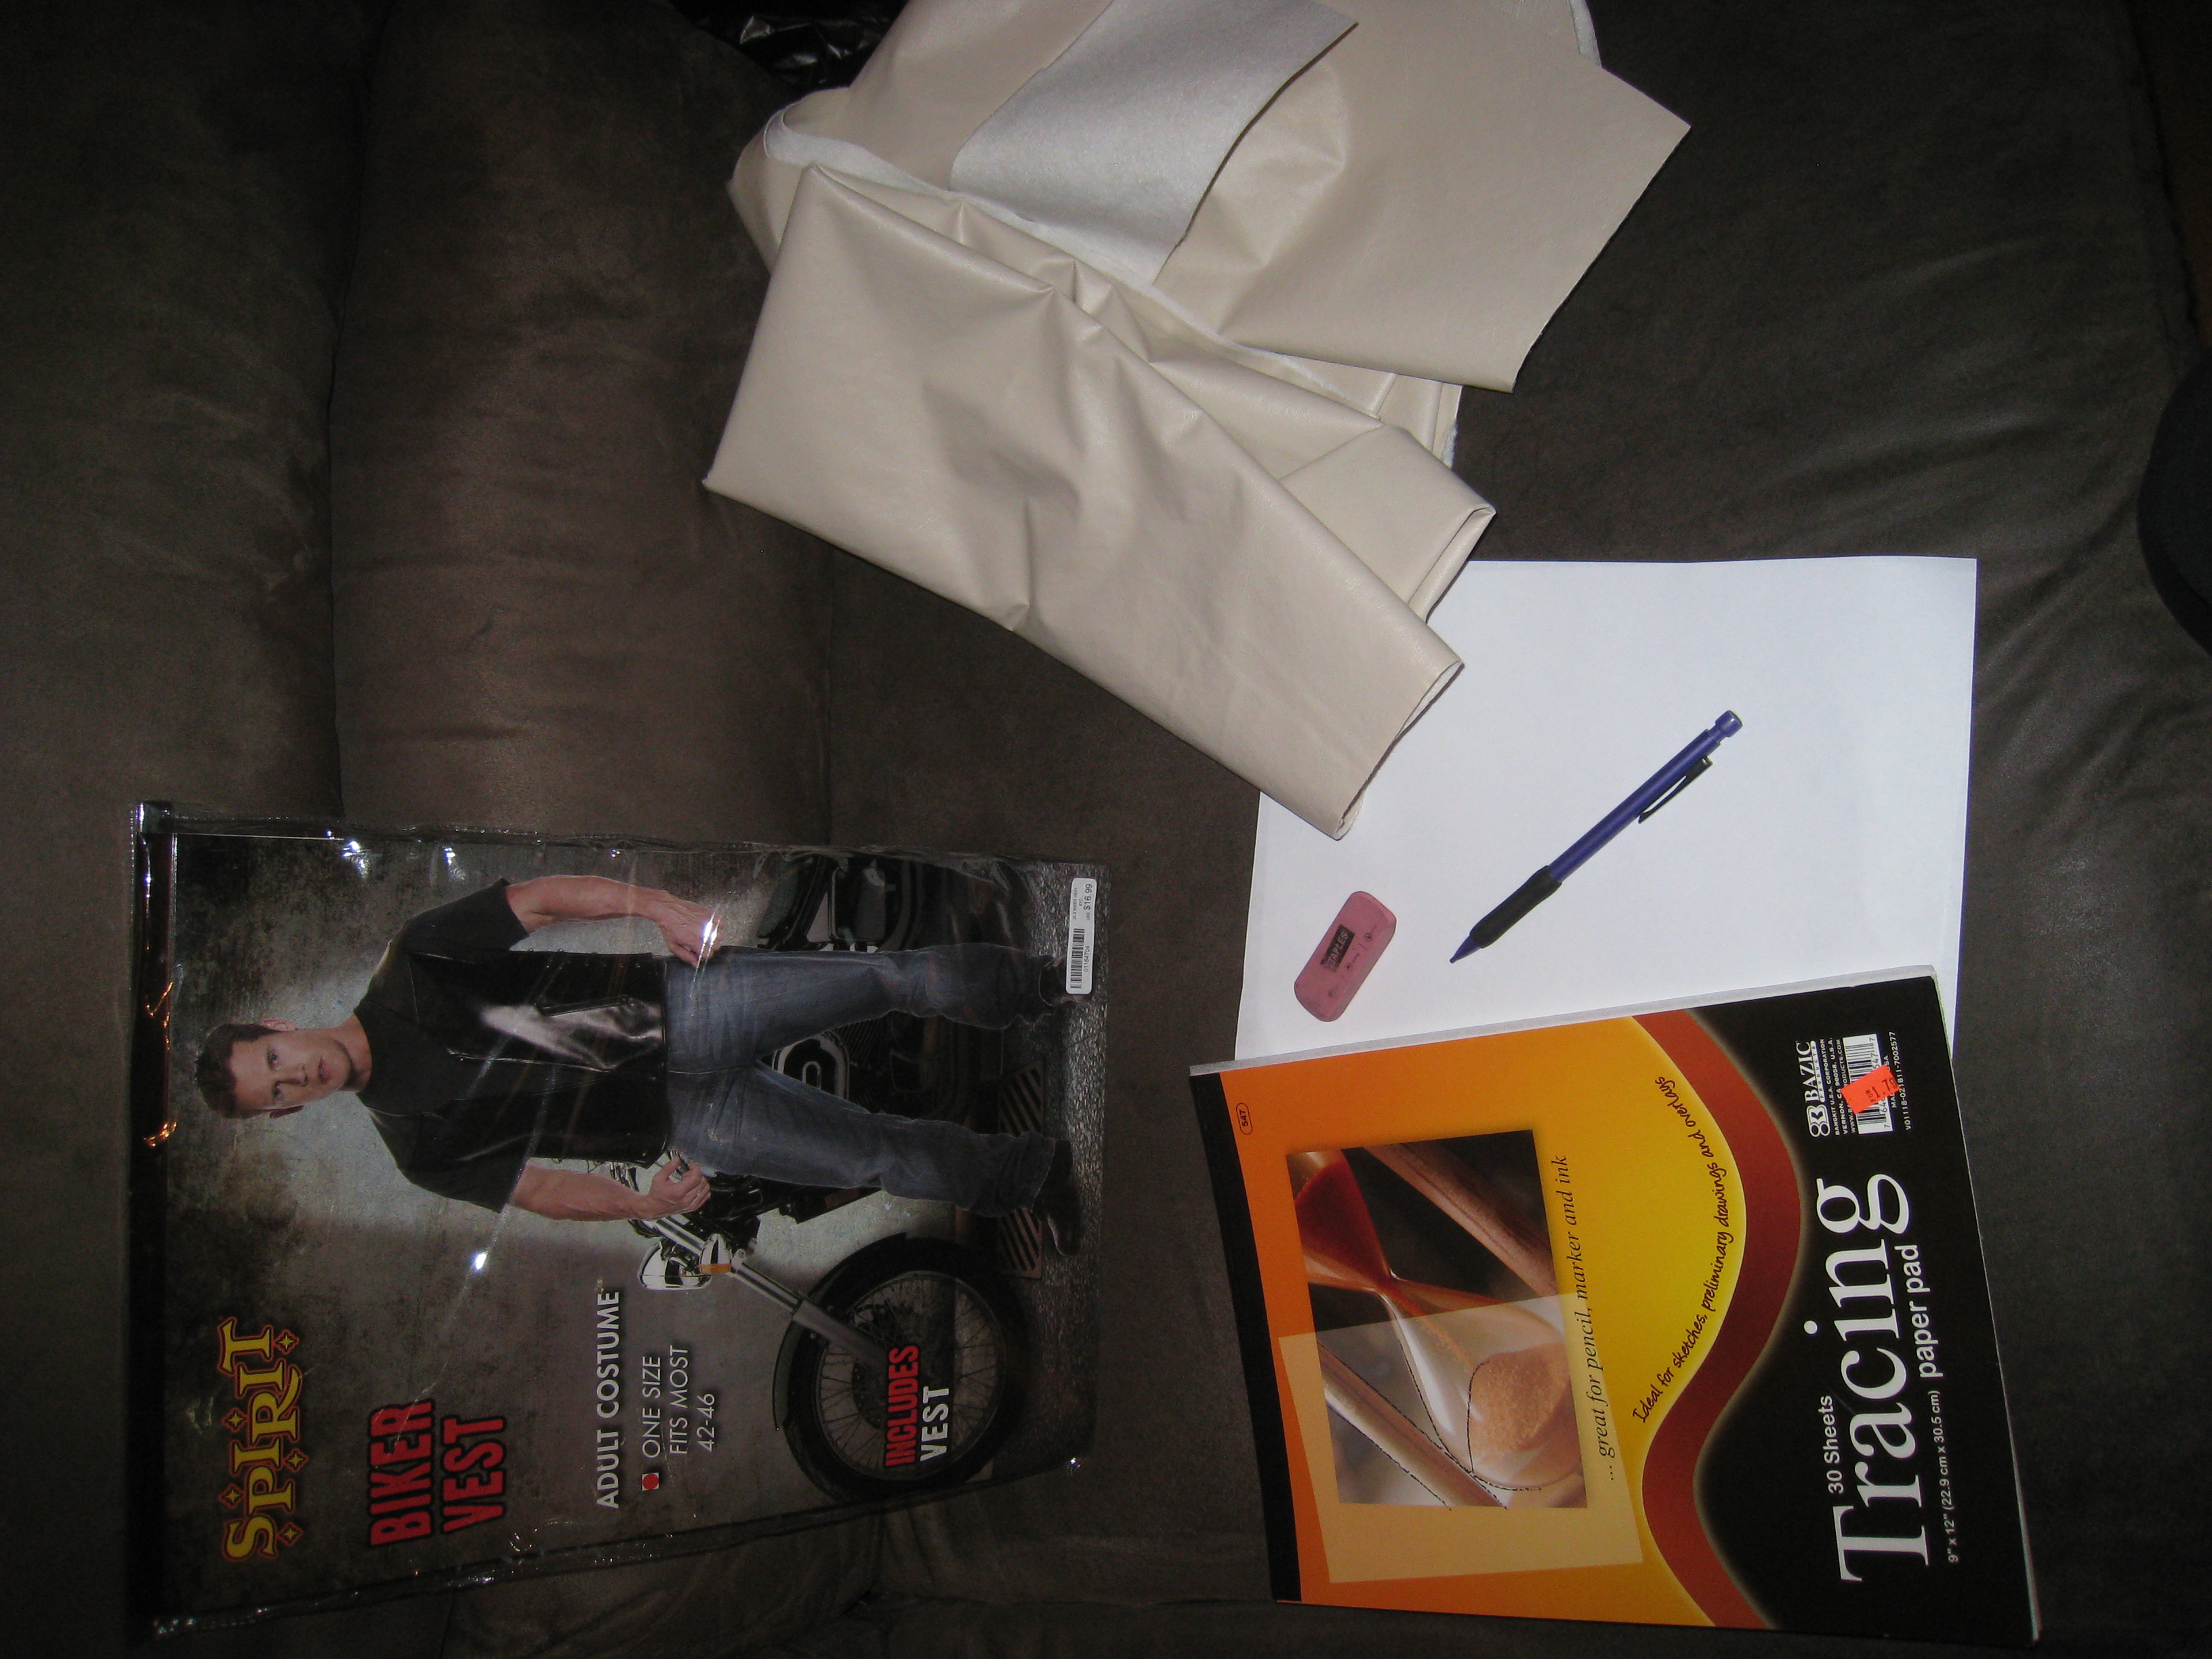
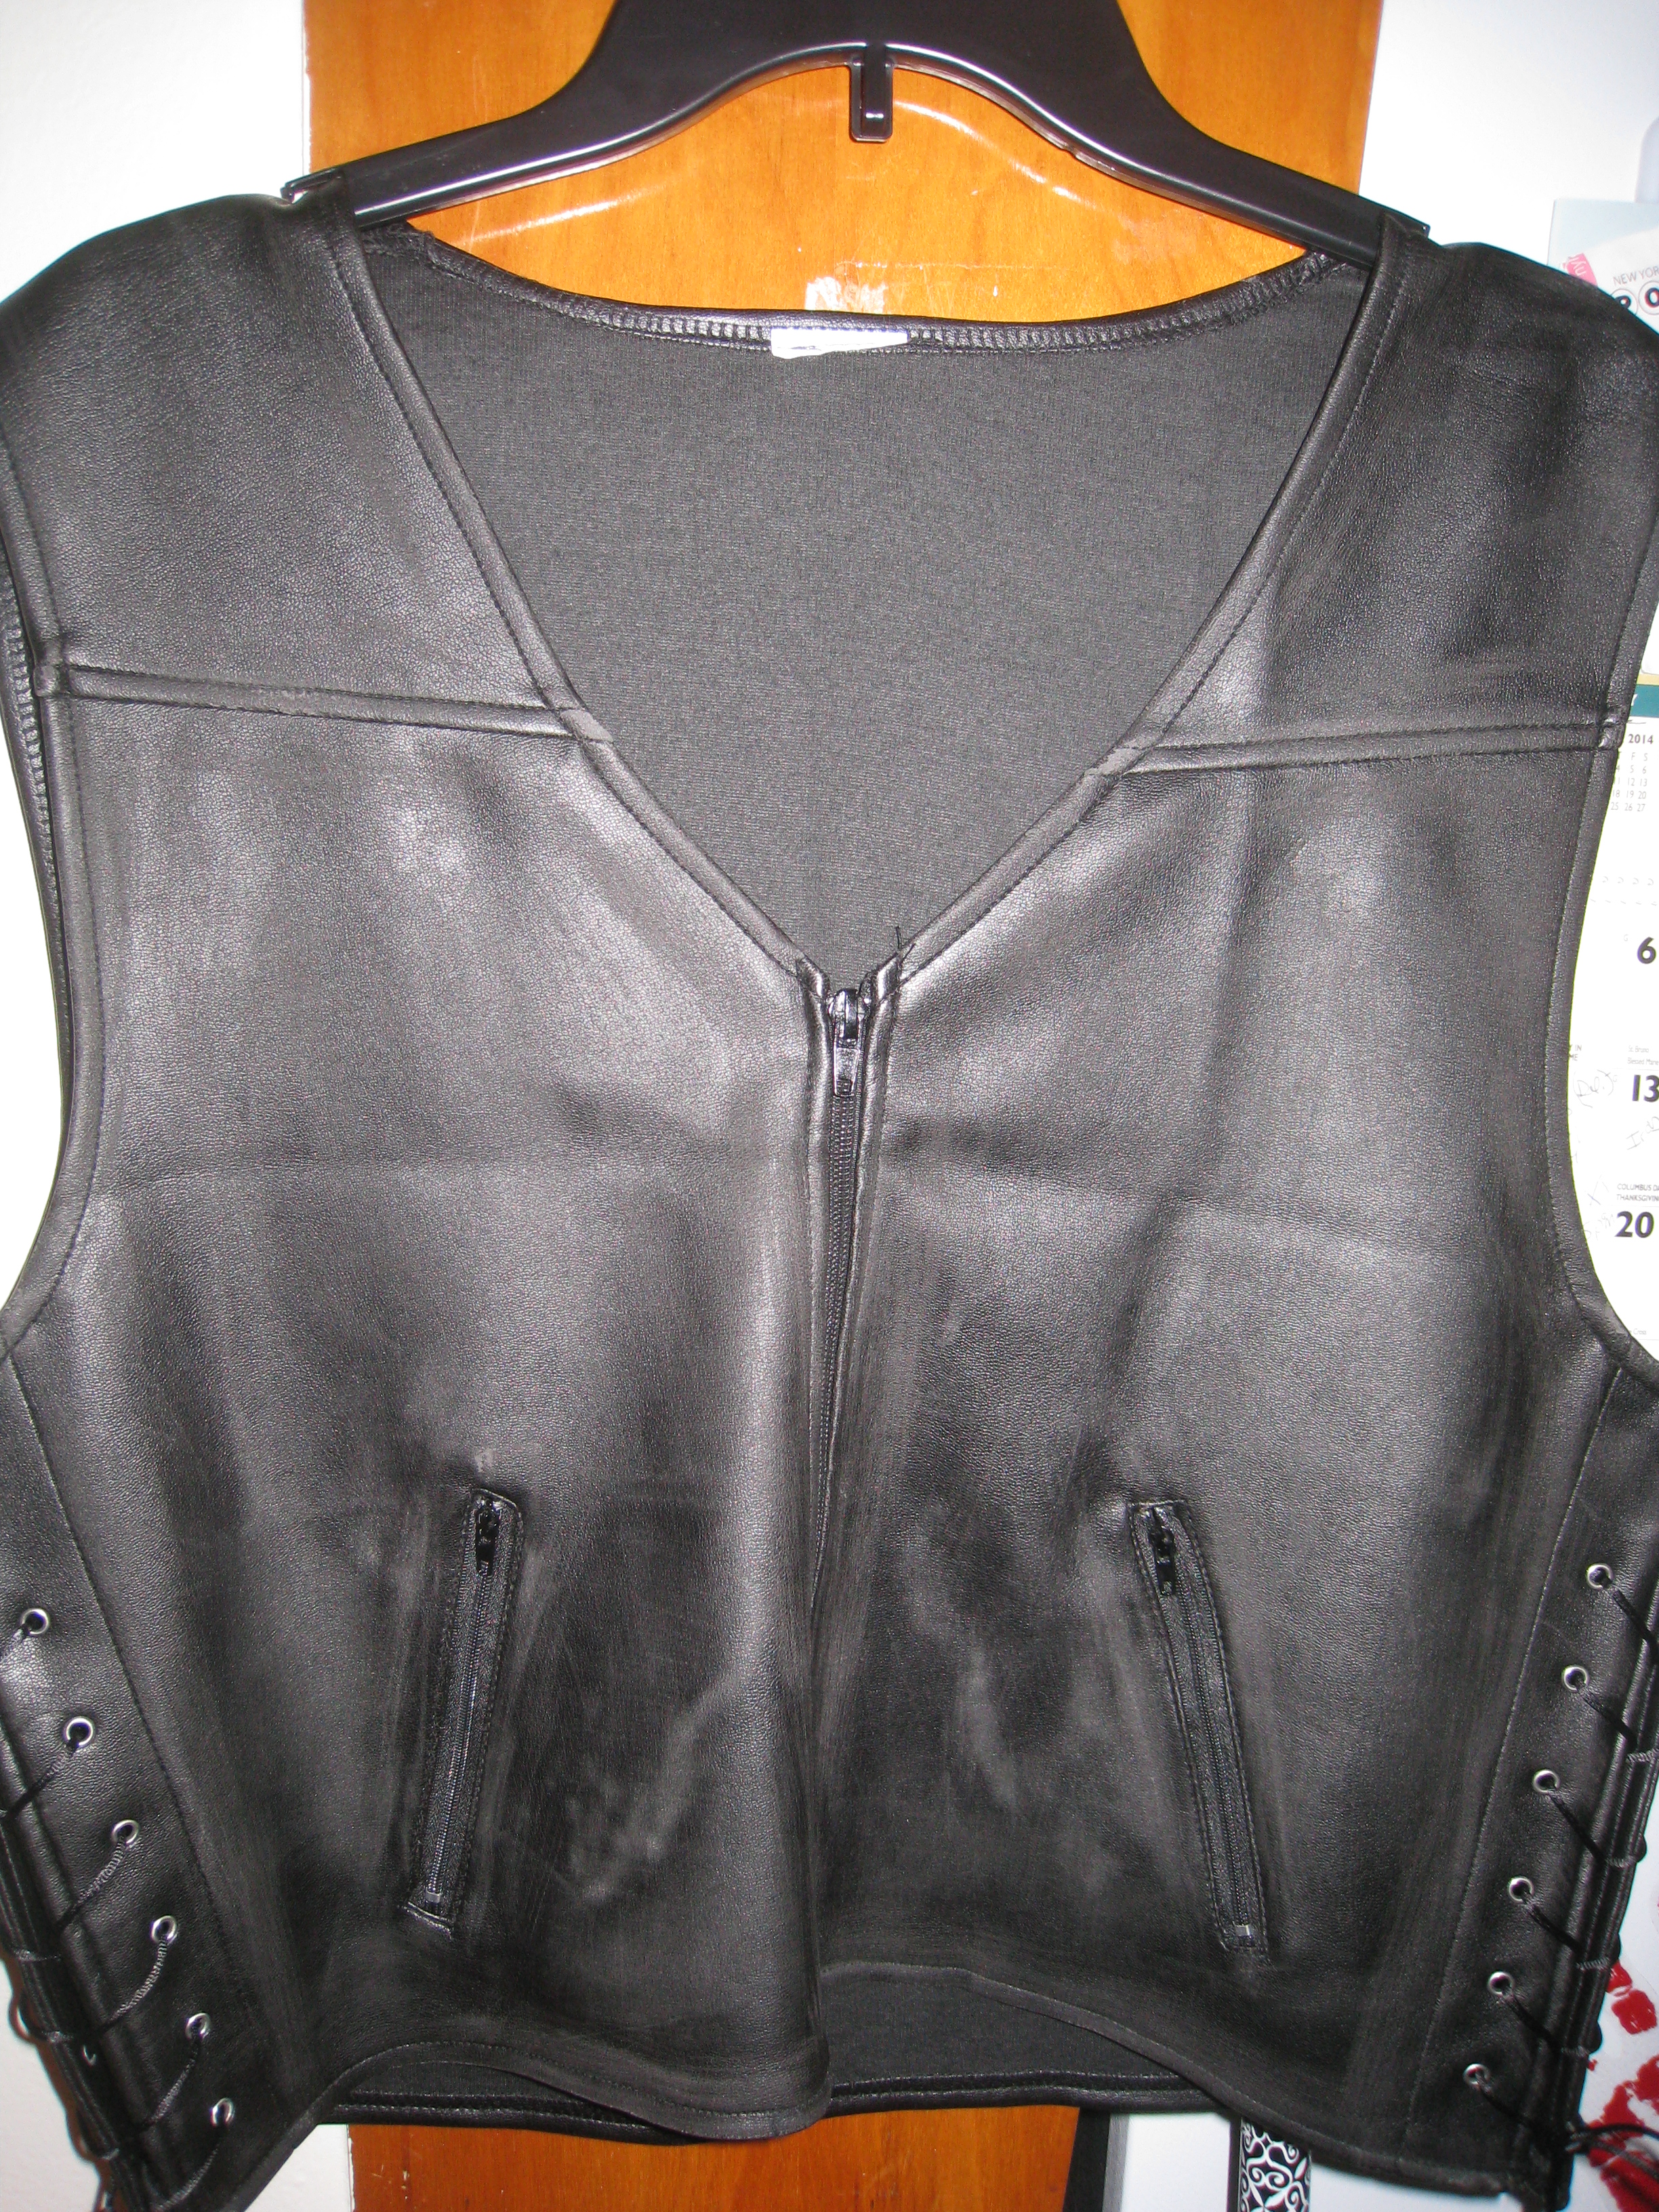
What you will need…A leather vest (not too cheap in quality), some light colored fabric (preferably a beige color) that can be easily manipulated and cut, some white computer paper, and some tracing paper.
The fabric I bought was actually flexible/easier to cut and durable and glued nicely because it had a felt type back…keep that in mind when choosing your fabric.
The faux leather vest I used was from spirit Halloween…I found it in the “biker” section.
CLICK HERE for link.


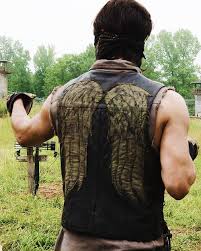
Here is the evolution of Daryl’s signature wings…
First I found a printable template of his wings online. CLICK HERE for link.
Then I had my brother draw them out to scale.
***BE SUPER CAREFUL CUTTING THESE WINGS OUT, it’s a pain in the ass because it’s so intricate.***
Then I traced them onto the tracing paper and was able to rub that out onto the fabric giving me an outline to work with.
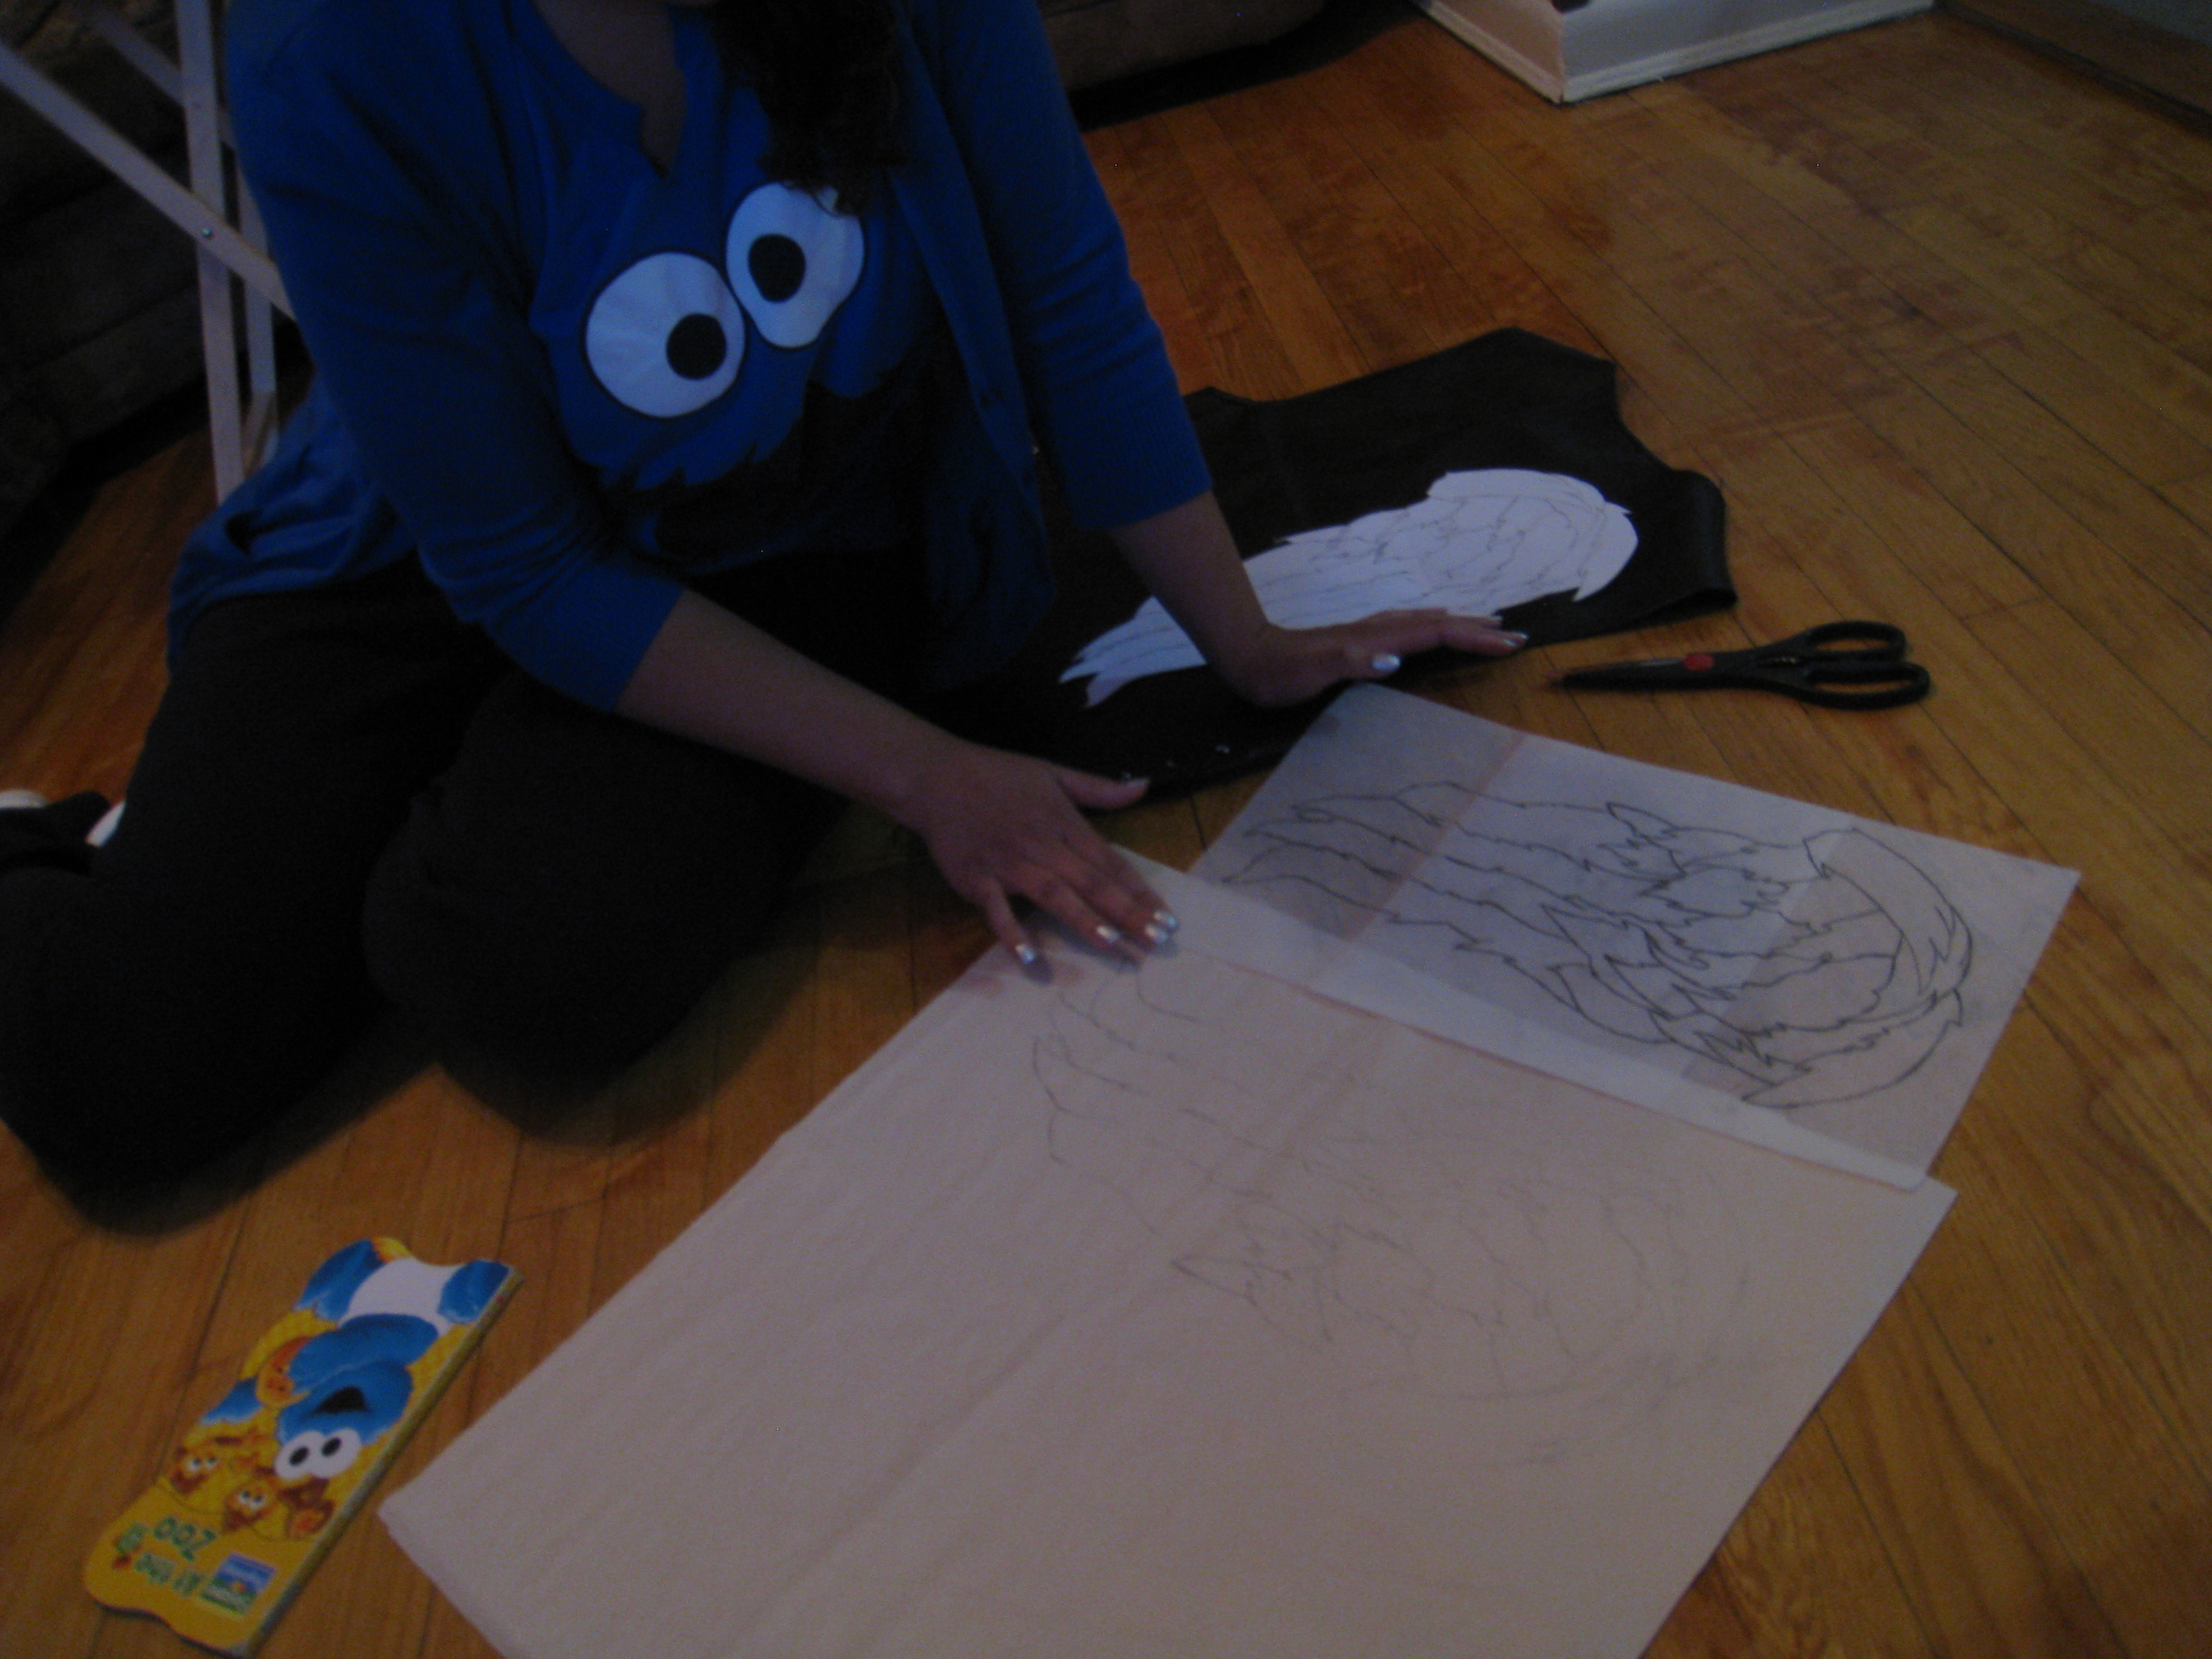
Don’t mind my cookie monster shirt/my niece’s book haha

Next the bro came in and traced over the stencil markings with a fine tip black sharpie marker and free handed the shading and details….thanks dude,
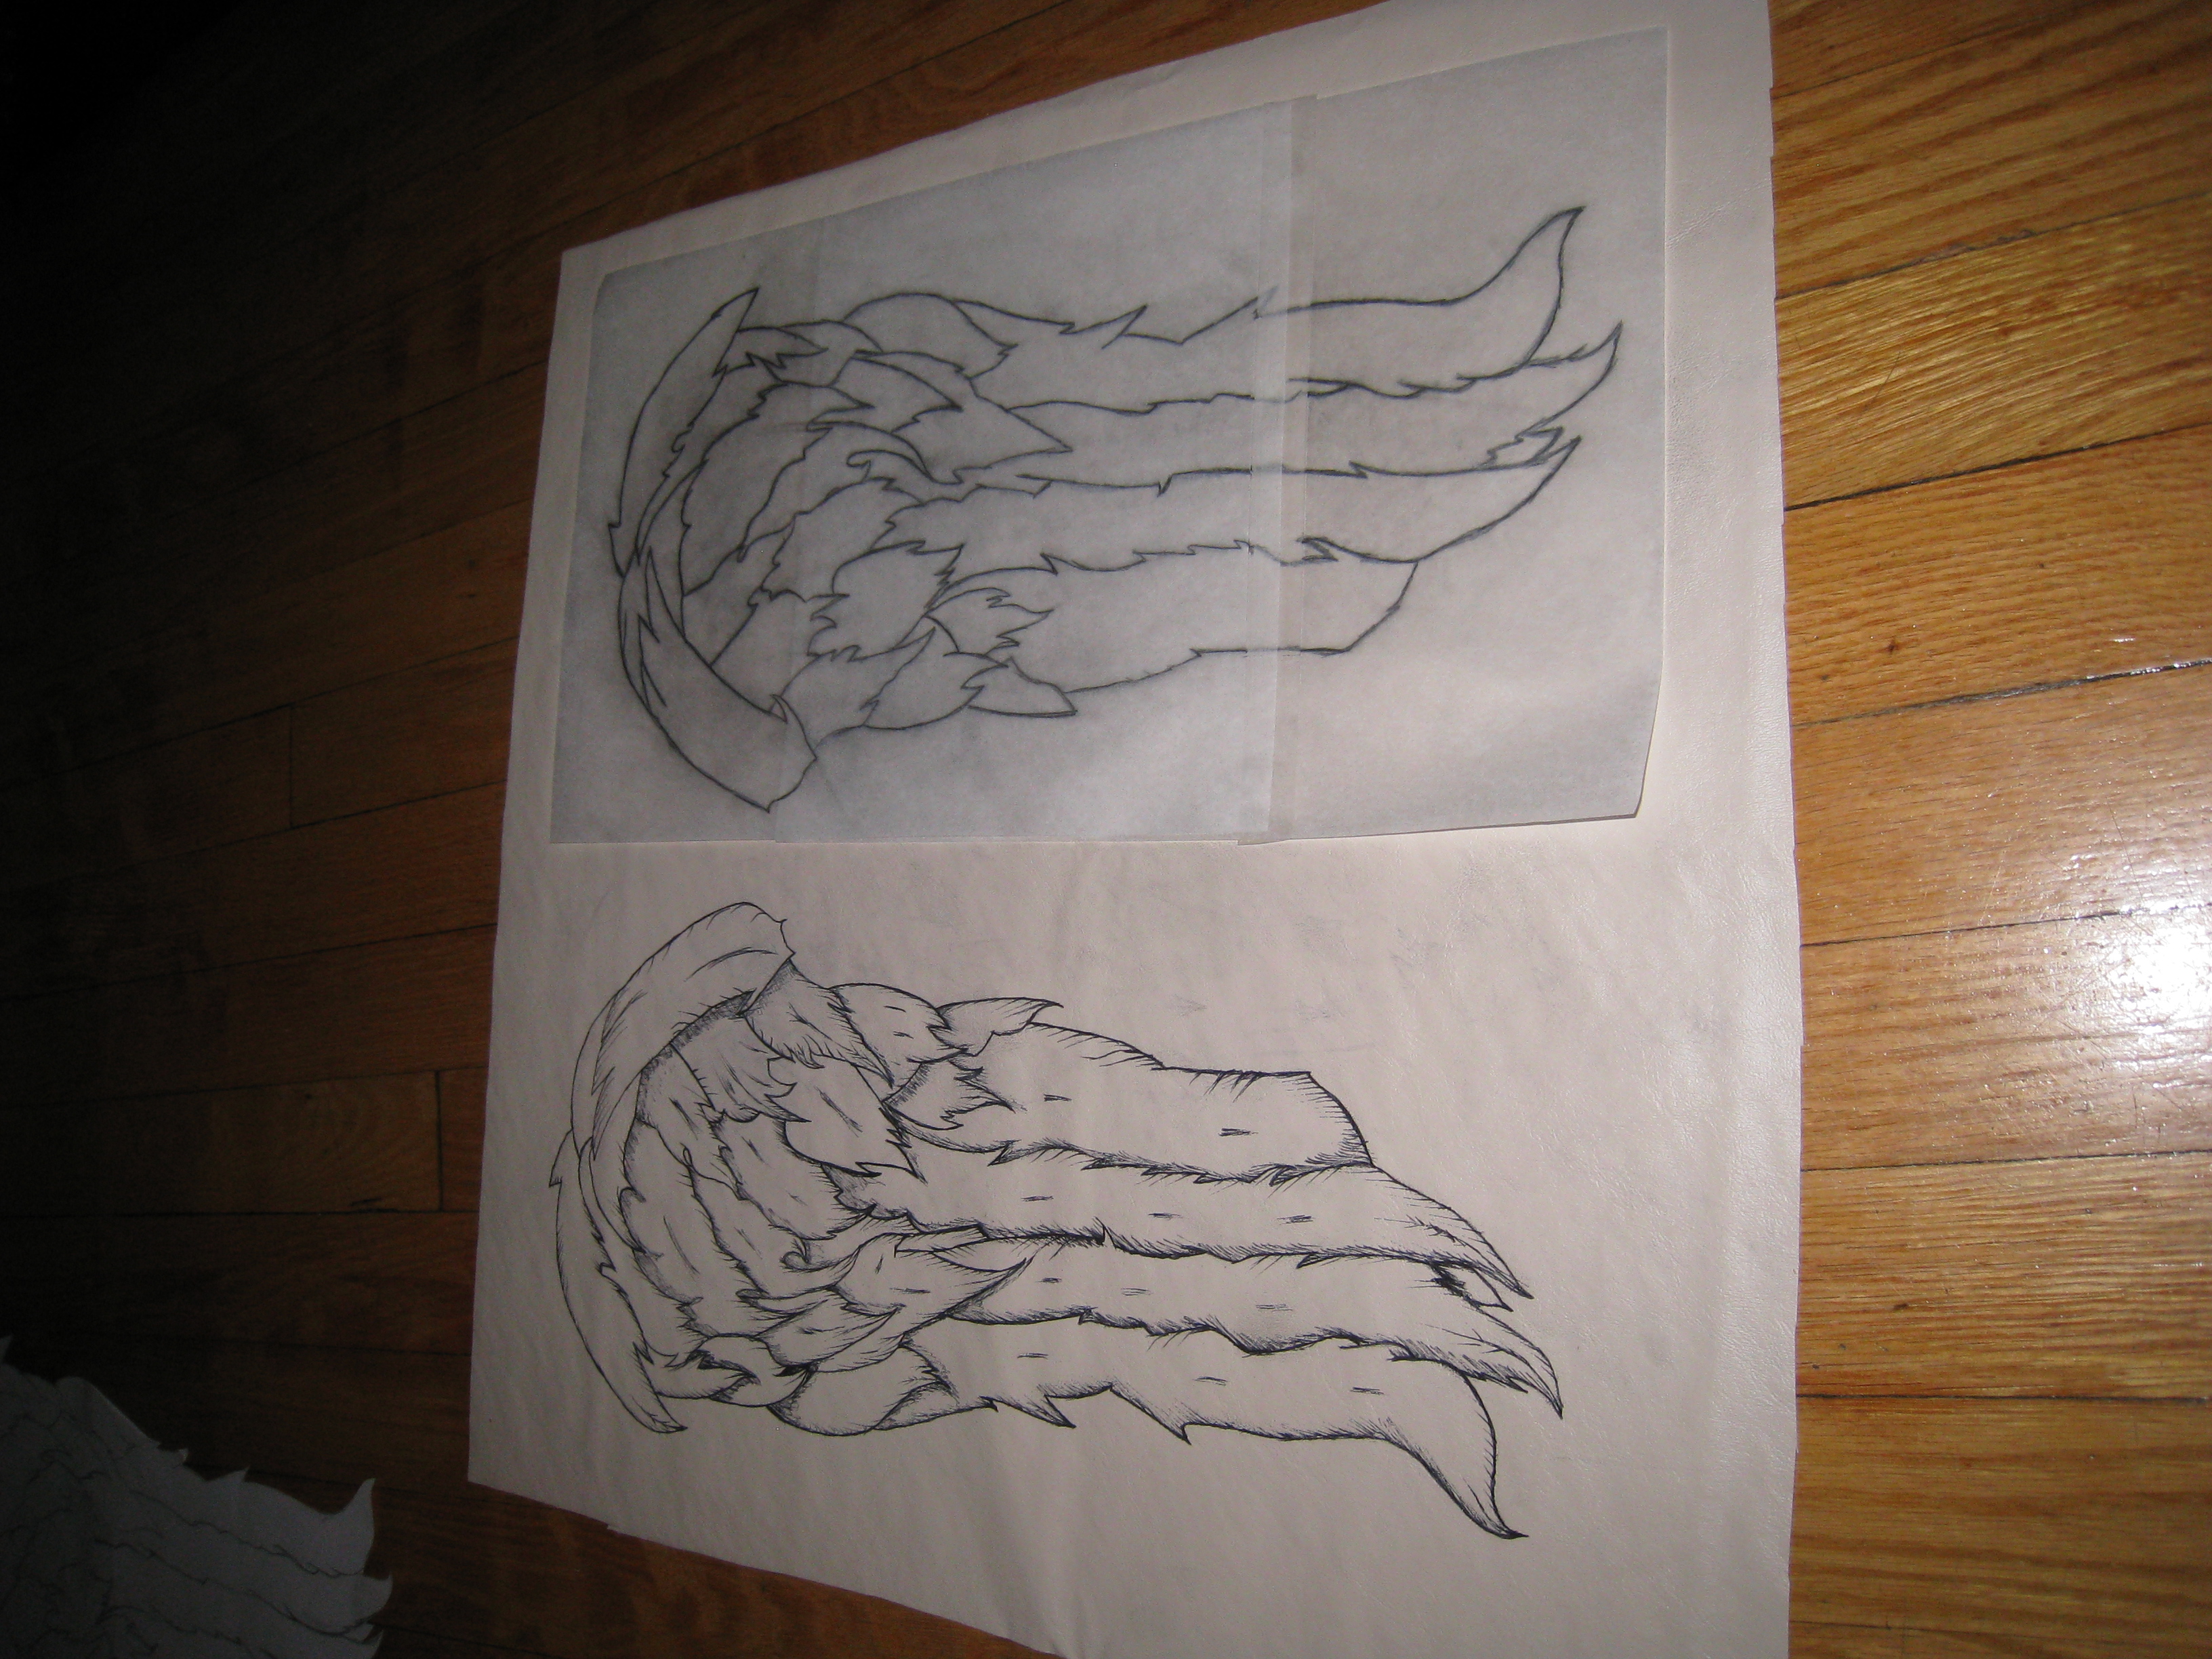
Should look a little something like this…our tip for the opposite wing…turn over and trace the opposite side of wing and repeat process.
Phase 2: Gluing the Wings to the Vest
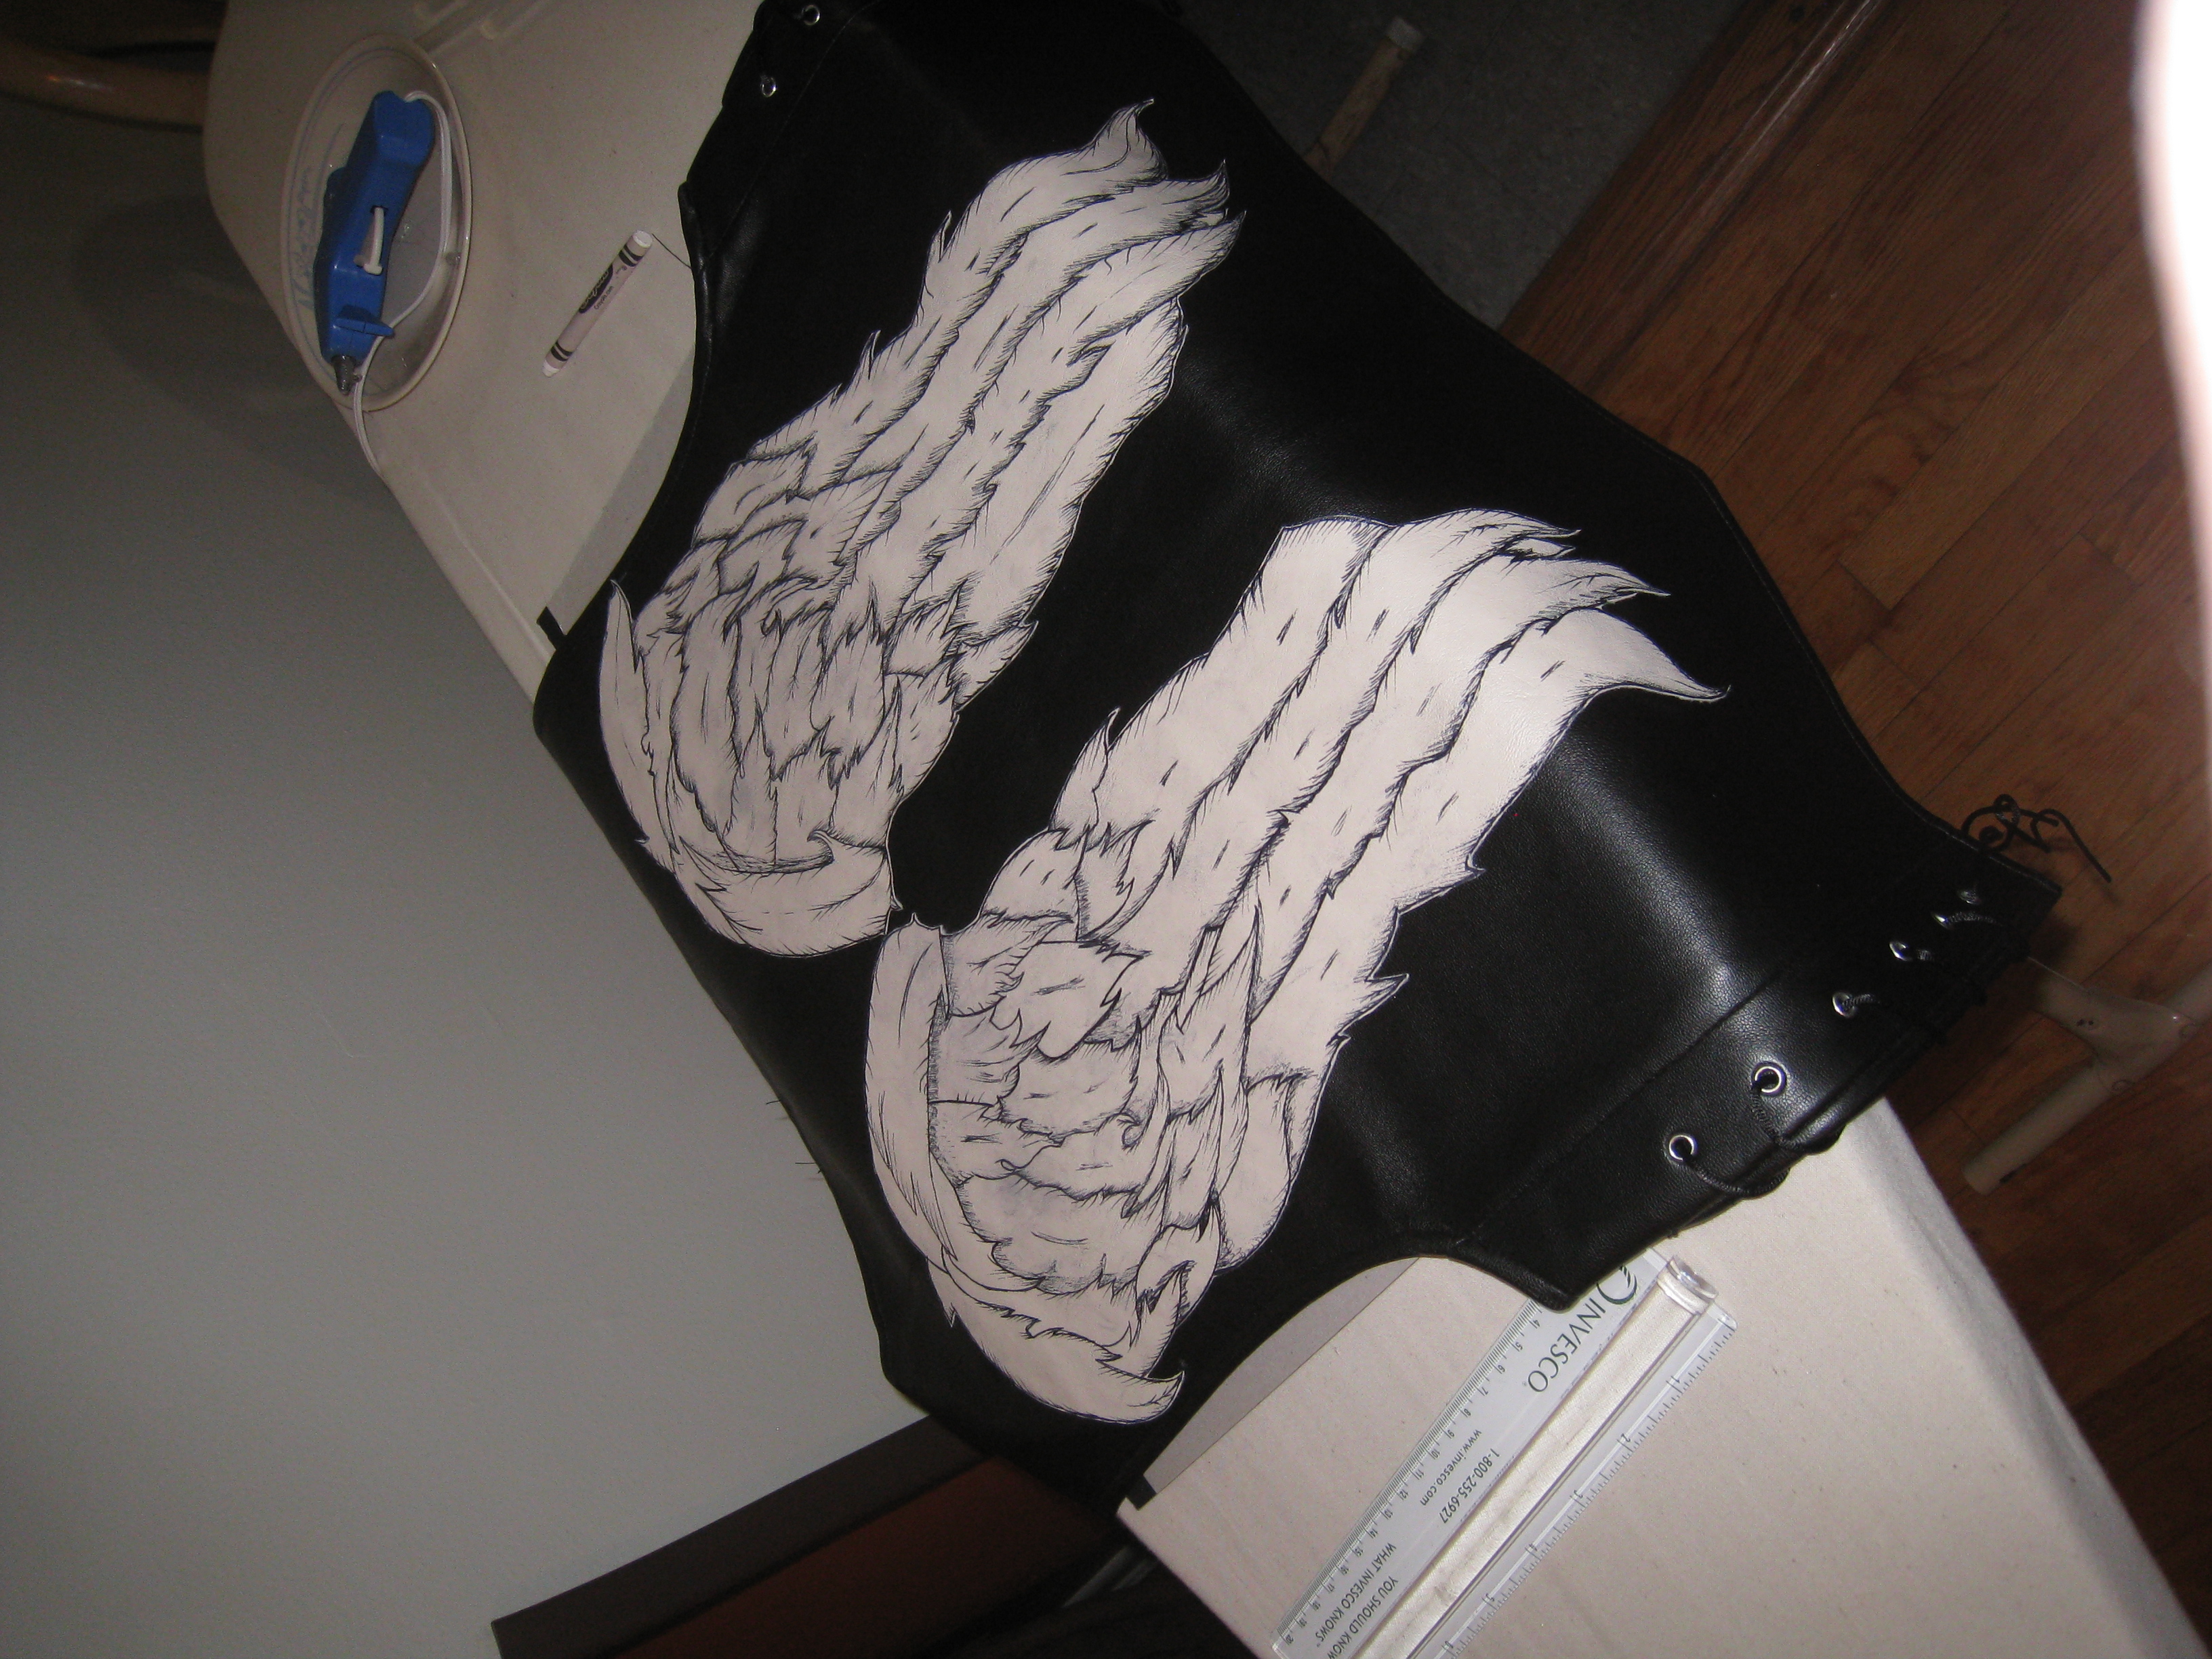
What you will need…Hot glue gun, glue sticks, ruler, white crayon, and cardboard to put between the vest, to protect the other side when gluing.
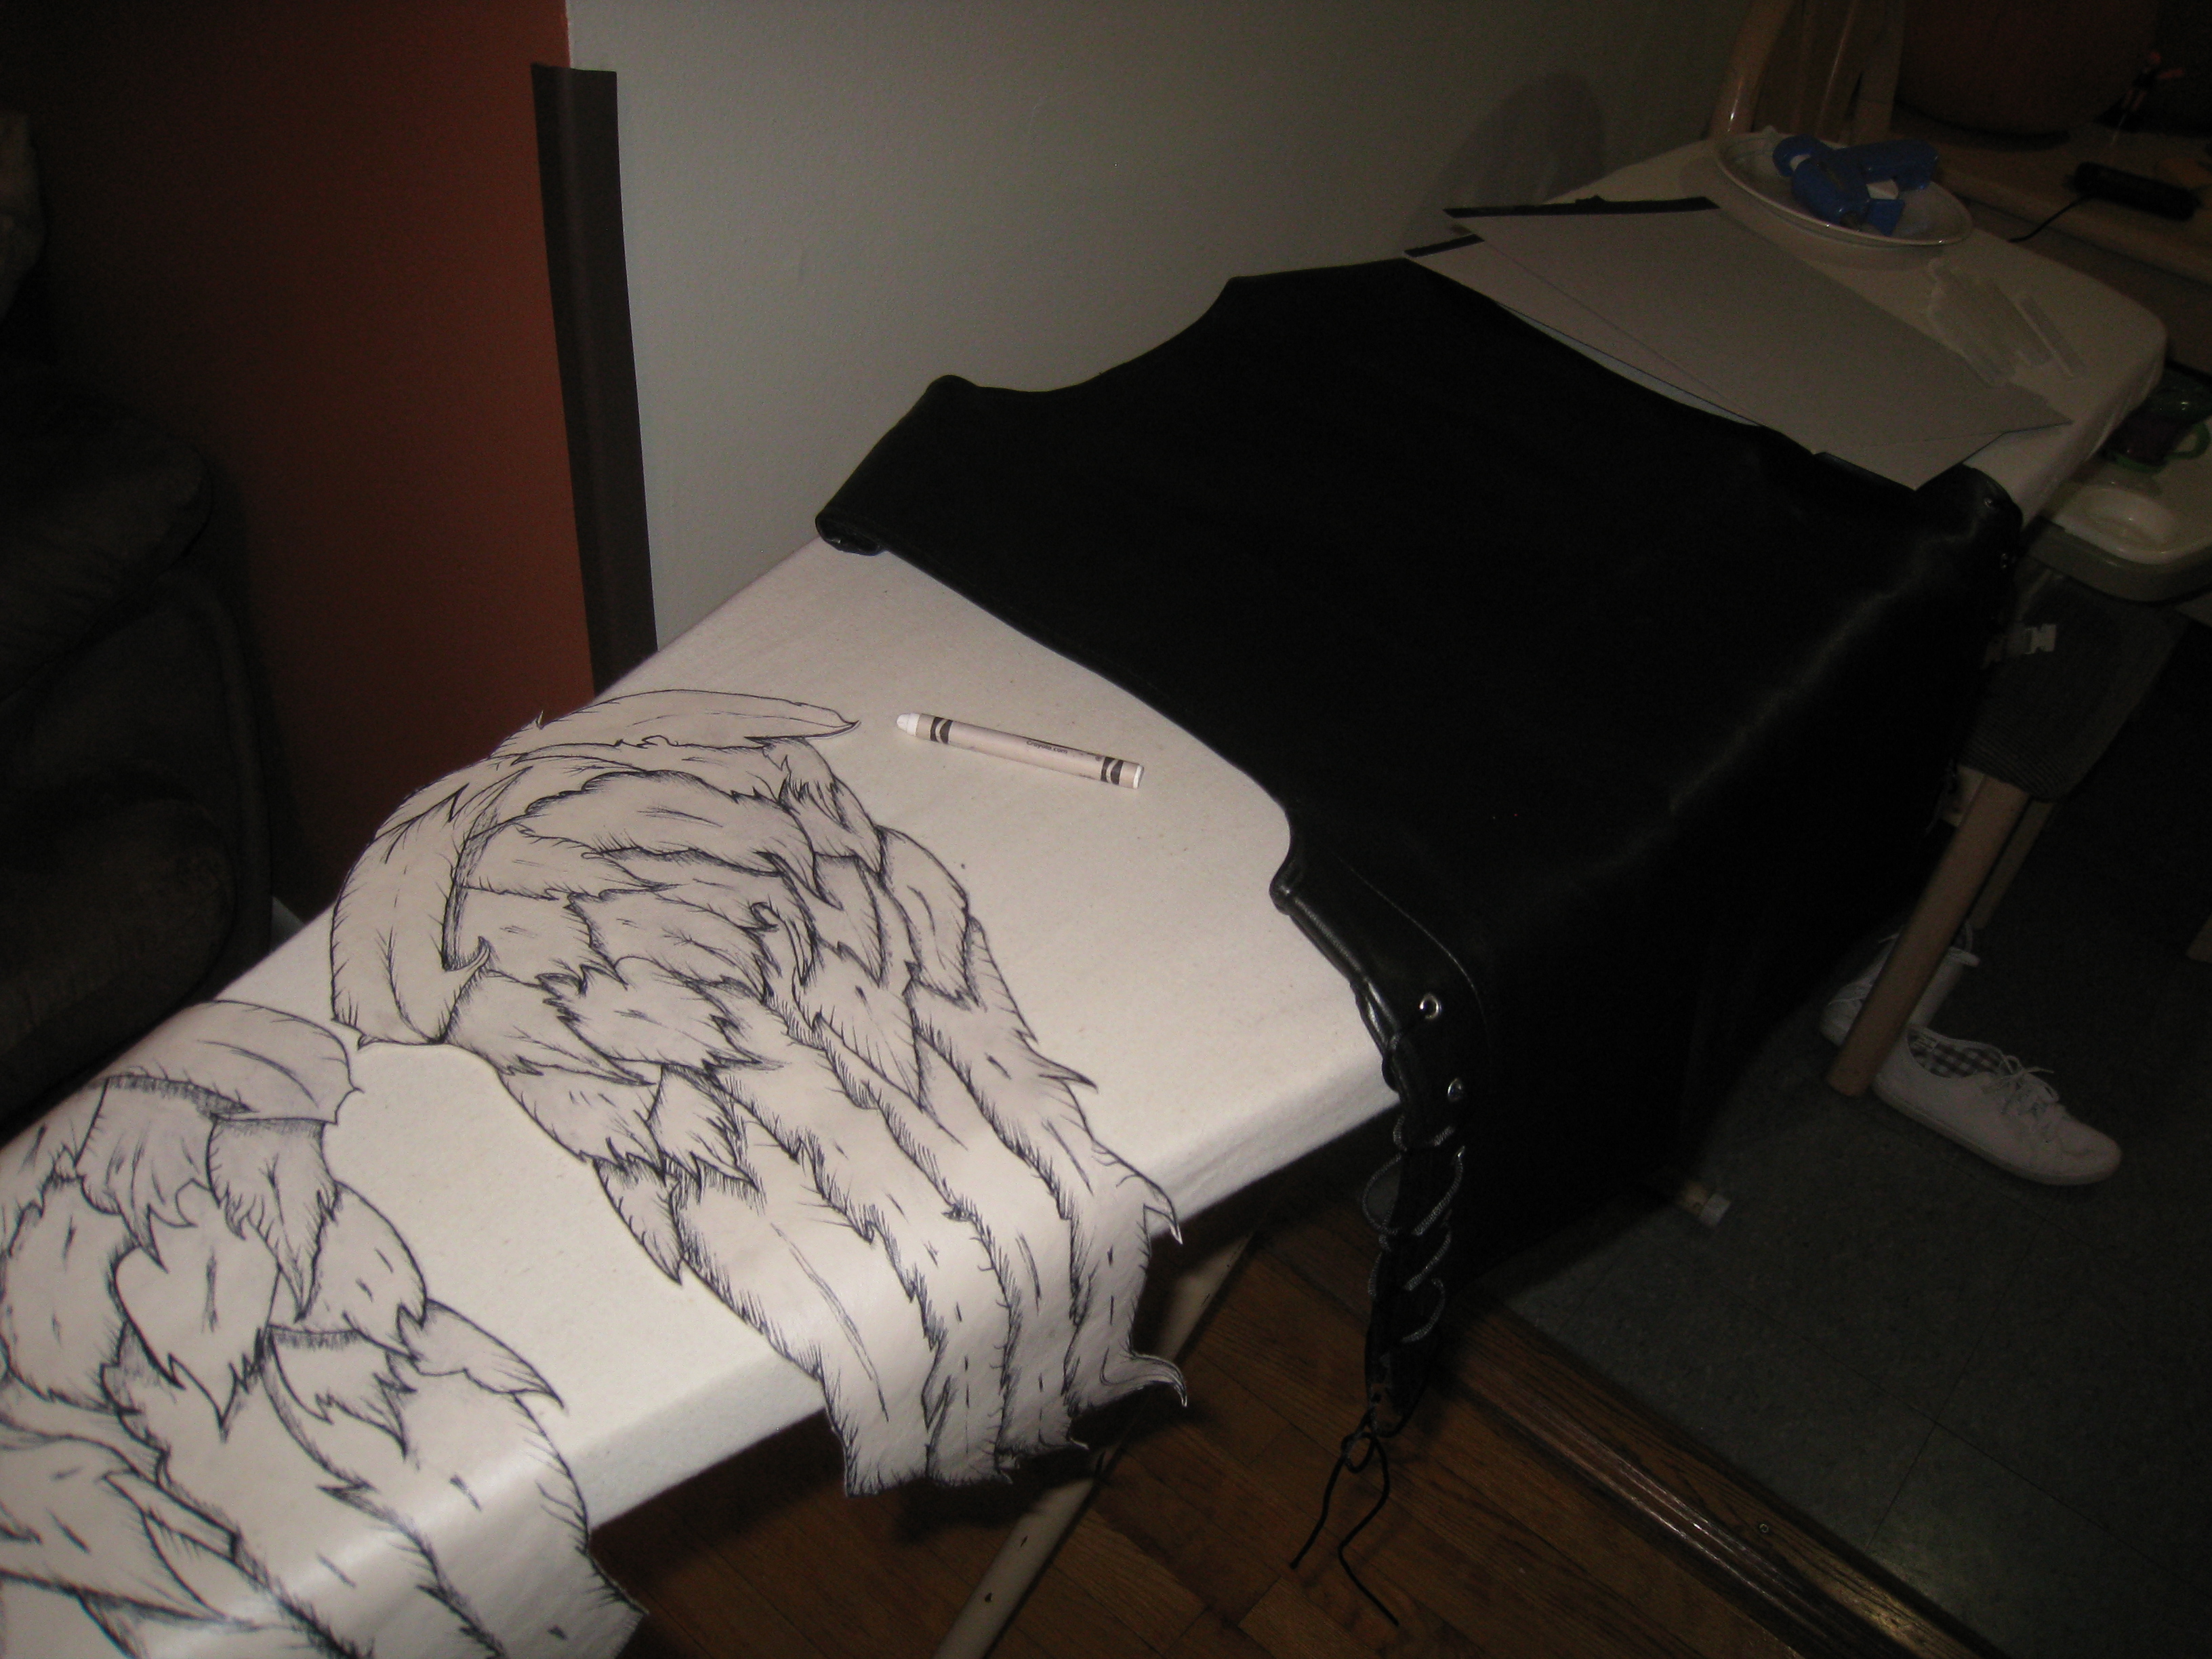
First place the cardboard between the vest.
Lay your wings onto the back of the vest and center them…using a ruler you can measure the distances from the sides, the top, the bottom, to make sure it’s all even.
When you’re all set, mark key points of where the wings go with the white crayon, this will help guide you if the wings shift during the gluing process.
Last but not least start gluing!
I recommend putting a dot of glue in the middle of each wing somewhere as to keep them in place while you glue the edges down and remember to be quick and careful. The clue dries quick and it’s hot as hell! [you will burn yourself about 5,000 times but it’s the price of wanting to look like a badass zombie killing genius]
Glue and stick, Glue and stick. Don’t try and glue too much at once, because the glue will dry before you get to do so. Seems like common sense but I just wanna cover my bases here.

And when it’s all said and done it should look a little like this…
Phase 3: Distressing the vest…
to ya know make it look like you’ve been through the zombie apocalypse
I got some of my ideas from HERE
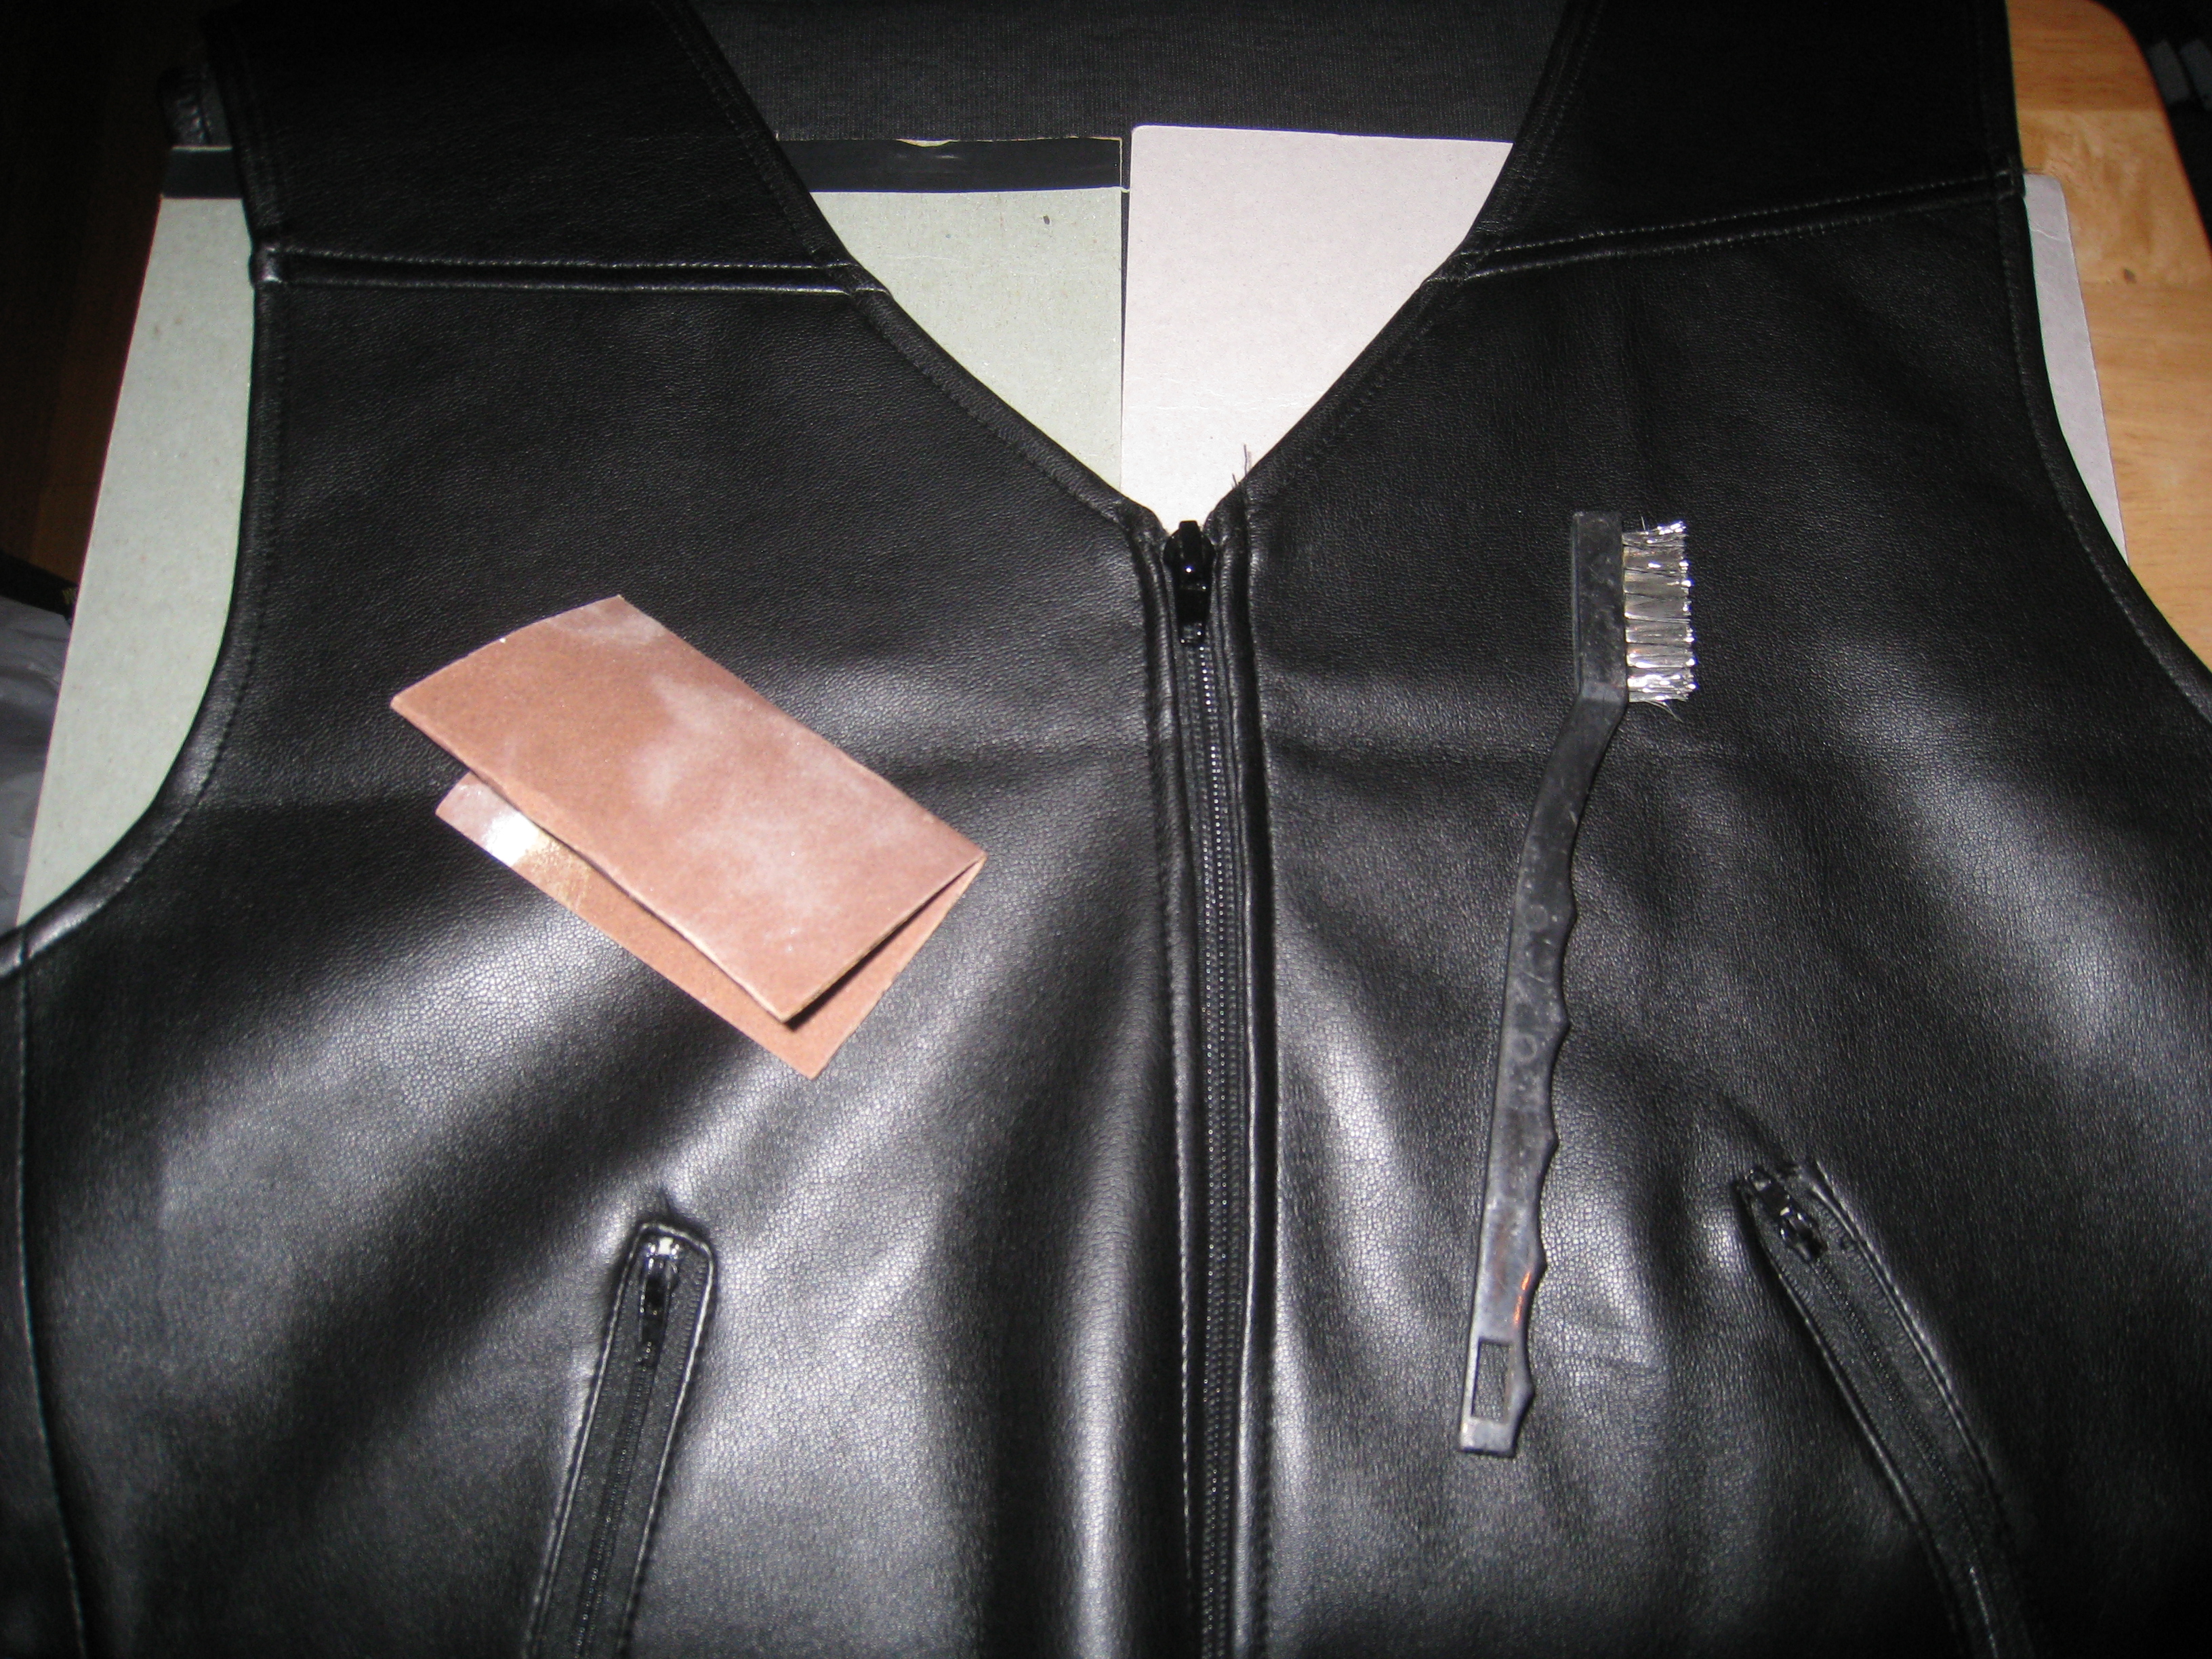
You will need…A wire brush, sand paper, and that cardboard again.

Start will the sandpaper first making sure to scrape gently…too much will create more damage then you are looking for

Next use the wire brush…when using both tools focus more so on the seems…by the neck, the armpits the bottom…this is where it would be most worn out
There’s really no precise method I went back and forth between using these two tools and I was pretty satisfied with my distressed look…

It’s a little bit difficult to tell in these photos…but the vest did get distressed and the texture is rather nice now…and there’s definitely less shine. ALSO I left he wings alone….too much effort went into those suckers!
***********
QUICK PRICE COMPARISON:
The Daryl Vest in Spirit Halloween (too big on me anyway, it just looked silly) is cheaply made, and the wings aren’t that detailed and it’s $29.99
The Spirit Halloween biker vest was $16.99 and the fabric I used for the wings was $7 in a local fabric store (for a yard of material) putting me at around $24…so I saved a few bucks and even though it was more work, I still think mine looks better and a hell of a lot more realistic I enjoyed doing it and creating something I can use and be proud of … 😀
So there you have it…my Daryl Dixon Vest DIY tutorial.
Shout out to my bro for helping me with the wings….it was definitely a team effort! 😀
What do you think?

I will be rocking this on Sundays!
Stay Tuned for my FULL outfit as I transform into Mrs. Daryl Dixon for Halloween.

Got my Cross Bow…
Mom…I’m married for the night! 😉
-<3-

[…] you how I DIY’d my leather vest to look like Daryl Dixon’s from The Walking Dead. Click HERE to view […]
[…] simple white fabric purchased at a craft and hobby store such as JoAnn or Hobby Lobby. Here is a good tutorial with pictures to guide you through the wing making process. A crossbow also makes the perfect prop for this […]
Hey First off I wanted to say GREAT tutorial on a VERY hard to find item. Best Ive found so far. I used the pattern you linked and resized the wings up a bit to better fit my hoodies and leather vests. I plan to make a heap of them for friends, family and some to sell to local Dead-Fans.
I did find that I enjoyed bleaching some old denim from thrift store jackets and jeans for the material rather than dropcloth or seersucker fabric as it gives a more easily aged and authentic feel. I accidentally stumbled onto this blog and you’ve truly inspired me to make a *gorgeous* line of clothing/accessories.
Wow! Thanks so much! So great to hear that this tutorial inspired you! Thanks for reaching out! And really cool idea to use the old denim, never thought of that. Would love to see how your line turns out! Best of luck!
Awesome job. I am making a vest for my son to wear at comic con and I’ve been looking everywhere for a diy on the wings and this is by far the best one I’ve found.
Wow! Thanks so much Megan! Glad it could help you! I will just give you one more piece of advice that I realized after the vest was done; use a stronger glue. The hot glue held up enough for a night, but the wings peeled off completely later on. I don’t know if crazy glue, or super glue or some type of fabric glue may work better. I wish I woud have known about it before I DIY’d it. But hope this helps! Thanks again for your kind words! Good Luck!
Thanks for the inspiration and the link to the angel wings template! I made this for my toddler to wear to Dragon Con, using black puffy fabric paint around the edges and over the details. It turned out awesome! I’ve linked back to you on my Daryl Dixon hairbow tutorial. It posts Friday, Jan 12th, 2018 on SisterGeeks.net. When you have a minute, check us out!
Thanks so much, glad the post could help! And thanks would love to check it out! 😀
Very useful Article I am looking for the diy wings but can’t find it anywhere but finally found it here..Thank you!
Happy to help! Thanks for reading!
thanks been looking everywhere
Glad I could help! 😀